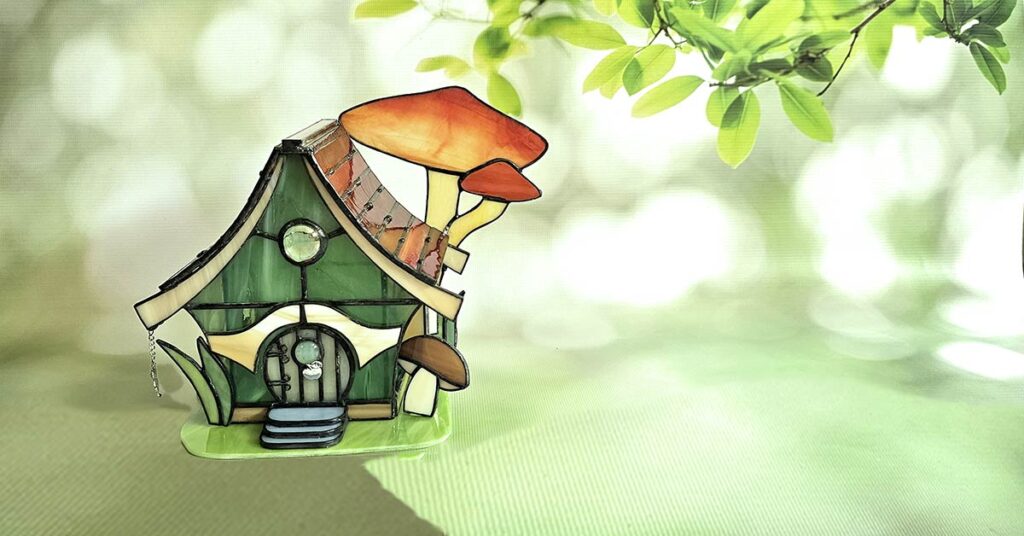
Stained Glass 3D Tutorial – Build Your Own Whimsical Forest House
Building Your 3D Forest House
- Building Your 3D Forest House
- Step 1: Cut All the Glass Pieces
- Step 2: Foil and Assemble Wall Panels
- Step 3: Solder the House Box
- 🏡 Step 4: Add the Front Decor
- Step 5: Assemble the Roof and Ridge
- Step 6: Finishing Touches
- 🍄 Step 7: Mushrooms & Grass
- Step 8: Attaching to the Base
- 📌 Final Notes & Helpful Links


Step 1: Cut All the Glass Pieces
The pattern has been adjusted to include base parts for your house. Here’s how it works:
- For the left and right walls, the base is added as a second layer.
- For the front and back panels, the base is built into the panel itself.


Step 2: Foil and Assemble Wall Panels
Wrap all your glass pieces in copper foil, and tin them in advance — this will help them solder together more easily.
Now assemble the front and back panels:
- Solder the piece marked with an asterisk (*) as a second layer.
- This piece should be soldered from the inside.
- Refer to the pattern diagram to see how this extra layer should be positioned.
- Check the project photos to get a clear idea of how it should look.
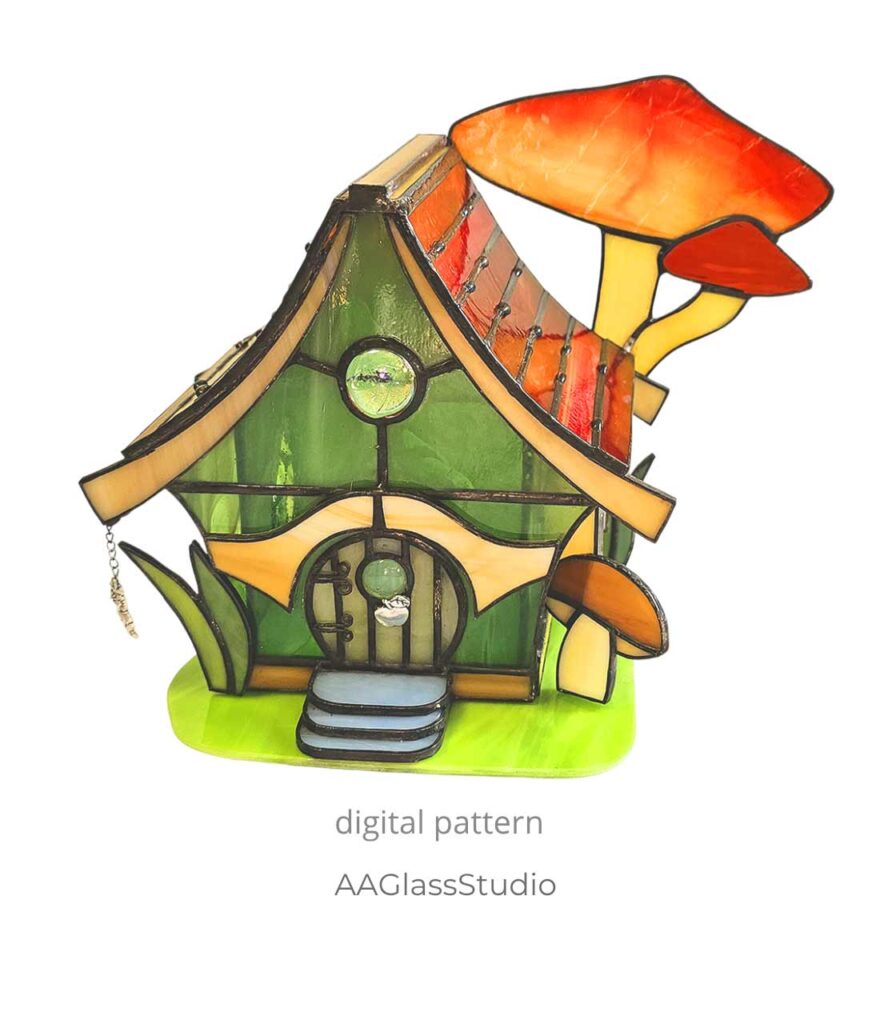
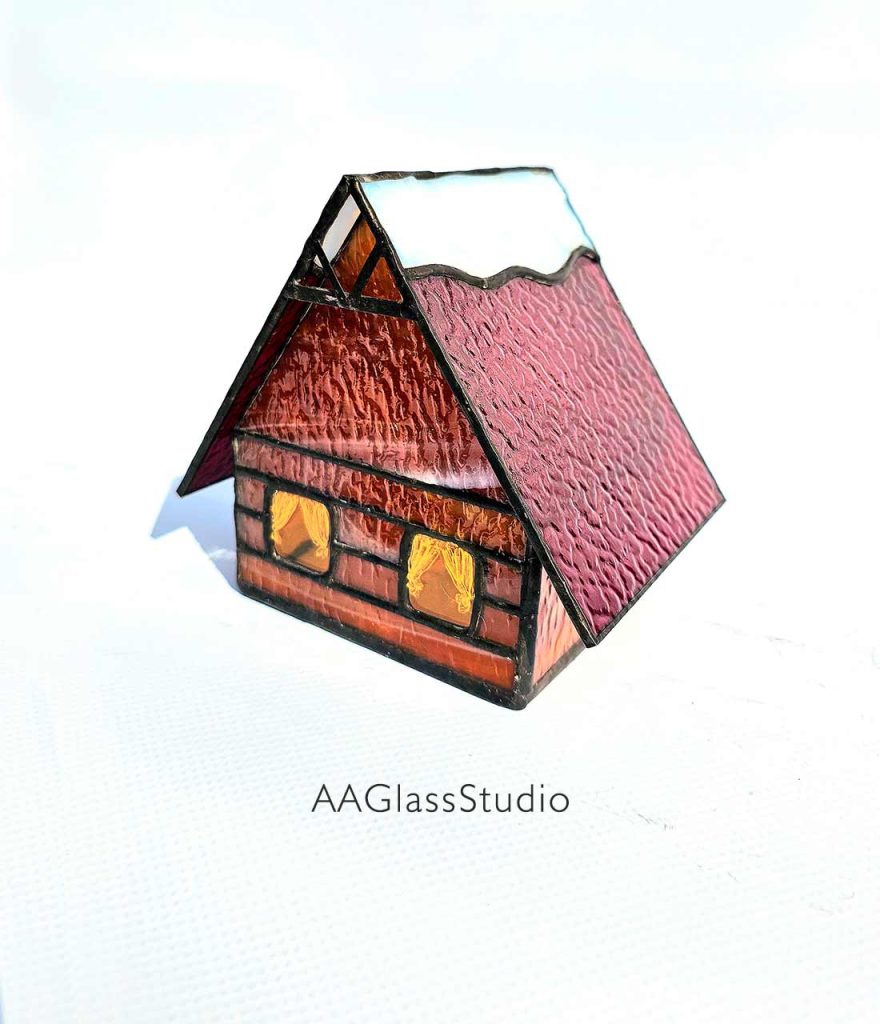
We used cabochons on the facade and door for a decorative touch. One window was left open so we could insert fairy lights from the inside.


Step 3: Solder the House Box
Time to assemble the walls into a box! Use the diagram on the first page of the pattern — it shows how each panel connects with dashed lines.
You’ll find plenty of photos included to help you:
- Study the soldering points that connect the walls together.
- These points alone will keep the house sturdy.
- Later, the roof and trim pieces will make it even more stable.


Tip: The window shutters should be soldered after patina is applied. Just two small drops of solder per shutter will do the trick!
🏡 Step 4: Add the Front Decor
Attach the decorative front piece as a second layer. Then add the grass detail as a third layer — you’ll see this clearly marked in the design diagram.


Step 5: Assemble the Roof and Ridge
Start roof assembly from the top down. Slide the glass pieces under the ridge cap (see photos), then:
- Tack the roof to the walls using small drops of solder.
- Optionally, you can solder the roof seams from the inside for extra strength.


Step 6: Finishing Touches
Here’s where the magic happens! Decorate and personalise your forest house with charming details:
- Add random drops of solder along the roof seams for texture.
- Use thin wire twists to make hinges and a door handle.
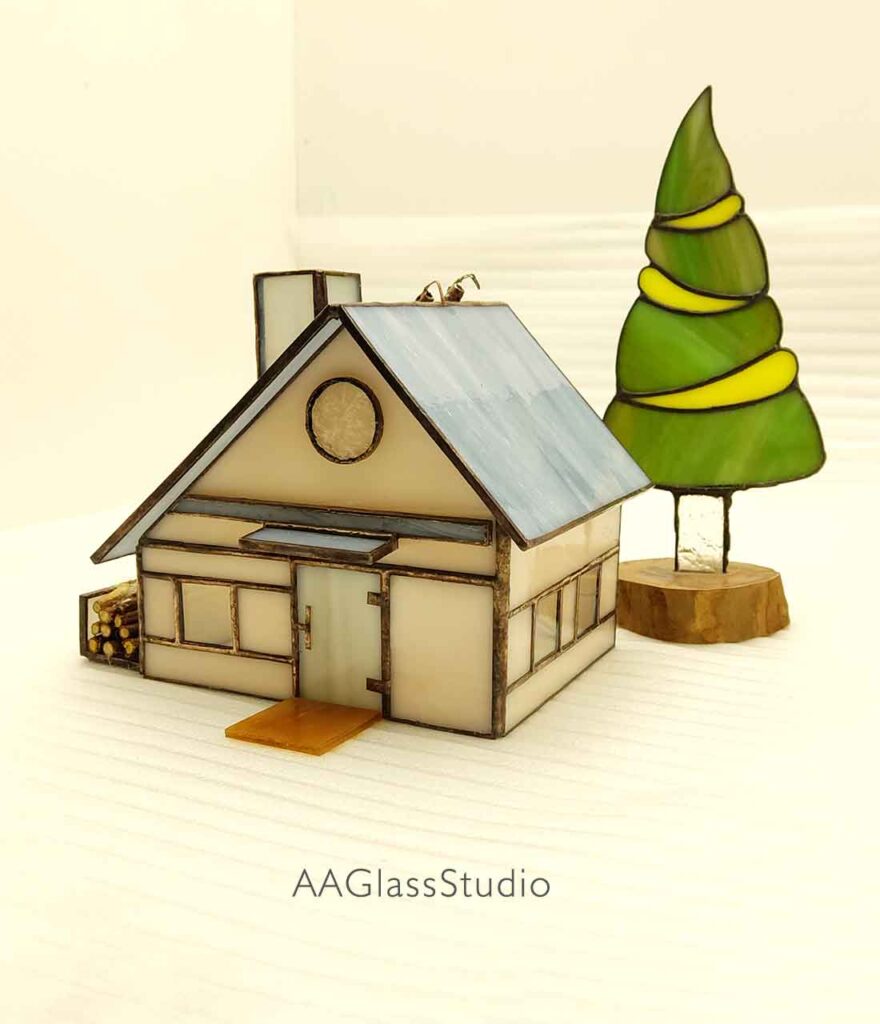
- Decorate the left wall window with glass leaves.
- Don’t forget the steps: stack the step pieces, solder them together, then attach them to the house.


🍄 Step 7: Mushrooms & Grass
On the pattern page, you’ll find several mushroom designs to choose from. Pick the one you like best and place it wherever you want around your house.
The same goes for the grass — add more or less, rearrange it, or even skip it altogether. This is your creation, so feel free to make it your own!


Step 8: Attaching to the Base
You can glue the house to its base or simply place it on top — whichever works best for your display setup.


📌 Final Notes & Helpful Links
If you have any questions or want to see how others built theirs, visit our Facebook page: 👉 facebook.com/AAGlassStudio You can ask your question here in the comments.
To find posts specifically about this project, search for the hashtag: #3dForestHouse
📸 All project photos and videos are stored in the “3D” album on our page. Note: Facebook may take a little time to load all images.
🔗 Get the full pattern here: https://aaglassstudio.com/3d/
So helpful! Thanks!!