

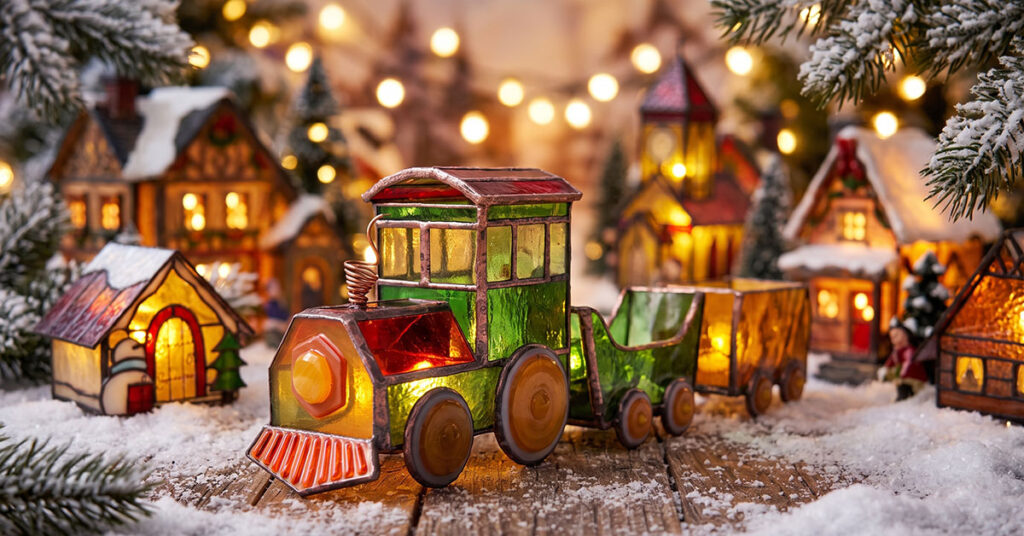
How to Assemble a 3D Stained Glass Christmas Train Locomotive and Wagons
Step-by-step photo guide
Build Your Own Vintage Stained Glass Christmas Train
A locomotive and its wagons — eighteen photographs, ten calm steps, and a result the whole family will love.
This vintage stained glass locomotive and its wagons come straight from our own childhood. It is the kind of little train that used to stand on a windowsill at Christmas time. Once you have built it, you can use it as a decoration on your table for Christmas or Easter, or for any family gathering you like.
Fill the wagons with wrapped sweets, with painted eggs, or with anything else you have at home. It looks lovely every way.
What you will need
Tools
- A glass cutter
- A glass grozing tool or grinding stone, for smoothing sharp edges
- A small brush, to sweep the little shards away
- A soldering iron and solder
- A small pair of pliers
- Masking tape or artist’s tape
- A glass jar or bottle, to shape the roof against
Materials
- Your printed pattern and the cut glass pieces
- Copper foil for wrapping the edges
- Fine grit paper or a diamond pad
- Warm soapy water and a soft cloth, for the final wash
- Copper patina, if you would like a vintage look (optional)
Two things worth knowing before you start. Glass dust is sharp, and a soldering iron stays very hot for a long while. Please work on a protected surface, keep a brush nearby so you can sweep shards up as you go, and give the iron a safe place to cool down when you are finished with it.
This is a slow and peaceful project. Many people tell us it is the most relaxing part of stained glass. Set aside a few evenings rather than trying to finish it in one sitting, and you will enjoy it all the more.
Where the pieces go
Before you pick up your iron, please find page 2 of your pattern. The assembly diagram is printed along the bottom of that page, and it shows how all of the numbered pieces fit together. Keep that page beside you while you work — it answers almost every question you are likely to have.
Step 1 — Cut the locomotive and wagon pieces
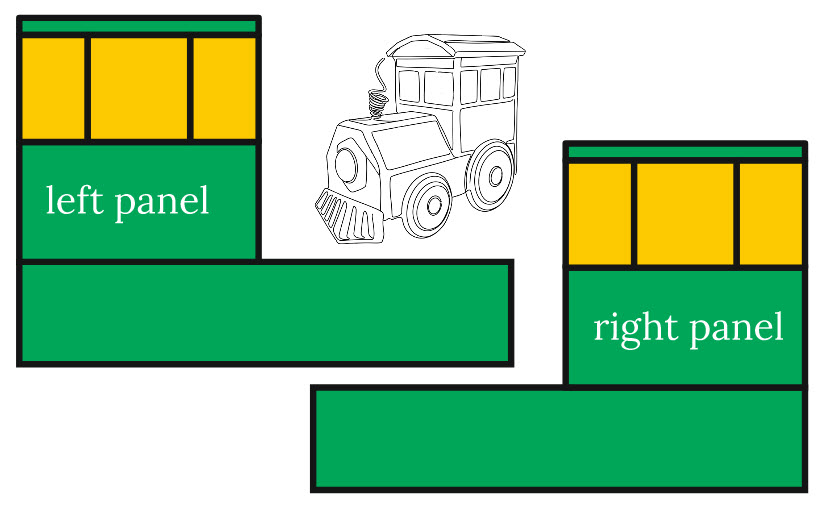
One thing to watch out for: the panels for the locomotive and the sides for the wagons come in a left and a right version. They are mirror images of one another, so do not mix them up.
Most stained glass has a right side and a wrong side — the side where the glass was fired in the kiln. Keep this in mind as you lay out and cut your pieces, because it decides which way round every panel will face when you build it.
Step 2 — Wrap the pieces in copper foil
Wrap each cut piece in copper foil, and burnish the foil down onto the glass so it grips tightly all the way around the edge. This is what will hold the whole piece together once you solder it.
Step 3 — Solder the left and right panels
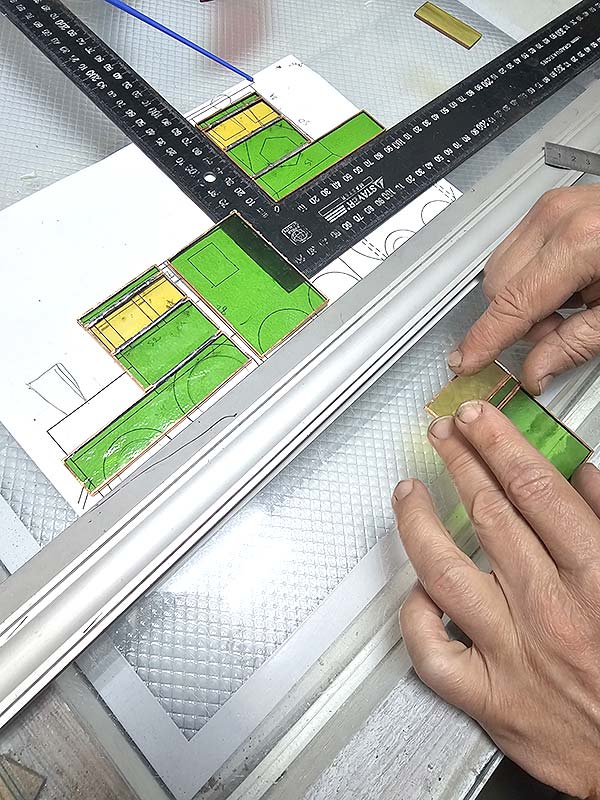
Now solder your cut and foiled pieces together into the two flat panels — the left panel and the right panel of the locomotive.
Step 4 — Build the body of the locomotive
This is the heart of the build. Take your time, work through it in order, and check your work as you go.
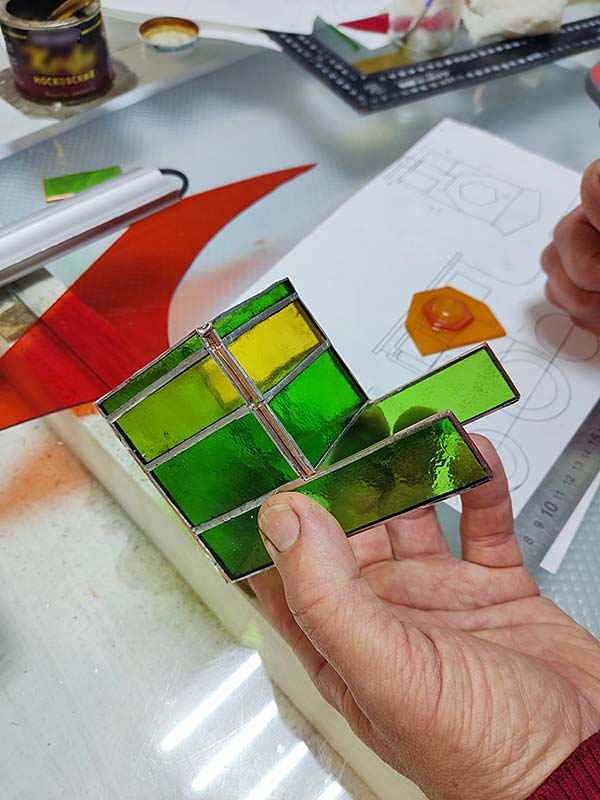
- Lay the soldered right-hand locomotive panel down on the table, right side facing the table.
- Take the back wall of the locomotive (piece 3) and stand it up perpendicular to the panel, exactly as shown in diagram 1 on page 2.
- Fix it in place from the inside with a few small drops of solder.
- Now take the soldered panel 4 — the front of the cab, with the windows in it — and fix that in place in exactly the same way.
- You should now have two pieces soldered upright, perpendicular to the right-hand panel that is lying on the table.
- Take the left-hand locomotive panel, lay it on top, and fix it in the same way.
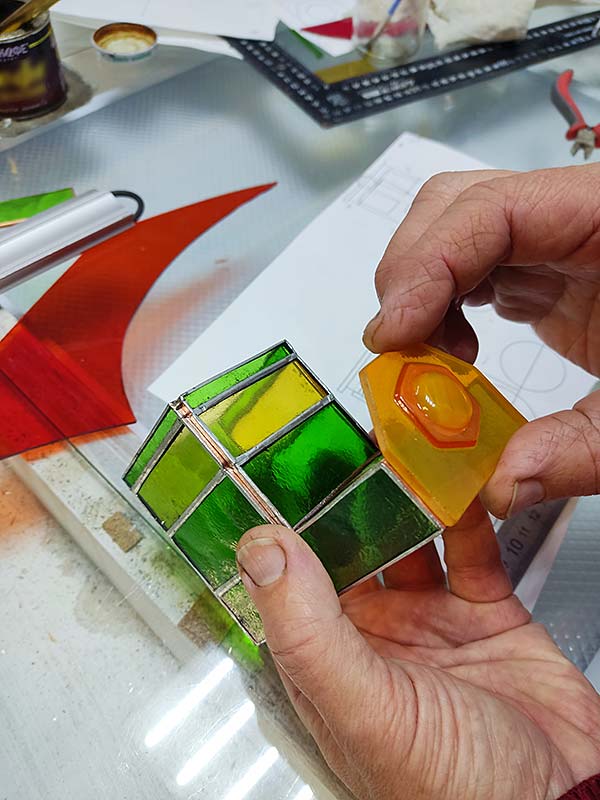
Take the front of the locomotive — piece 5 — and fix it in place with a few drops of solder, just as before. We will solder on the cowcatcher (piece 6) later on, so leave that one alone for now.
Next, solder on all three of the boiler pieces (pieces 7), one after the other.
Before you go any further, glue two small strips of foil across the middle piece in a cross shape. Later on, this is where you will solder the smokestack.
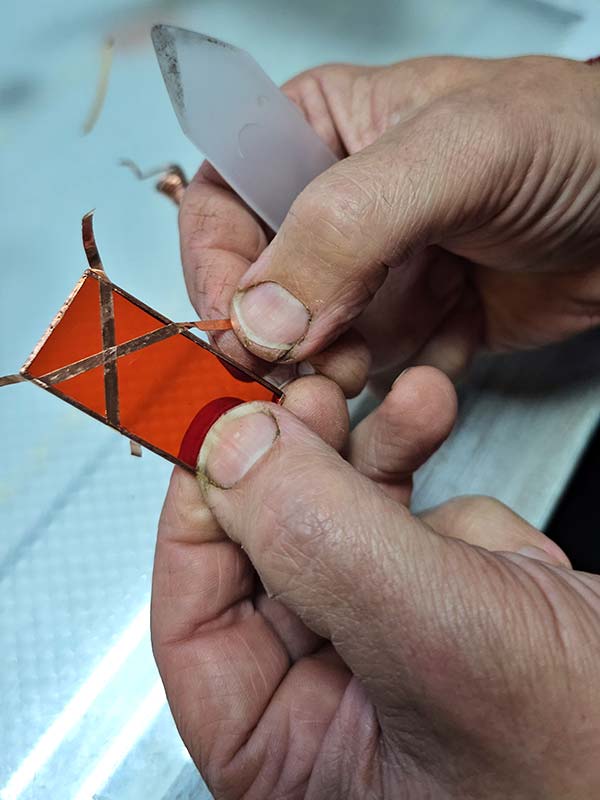
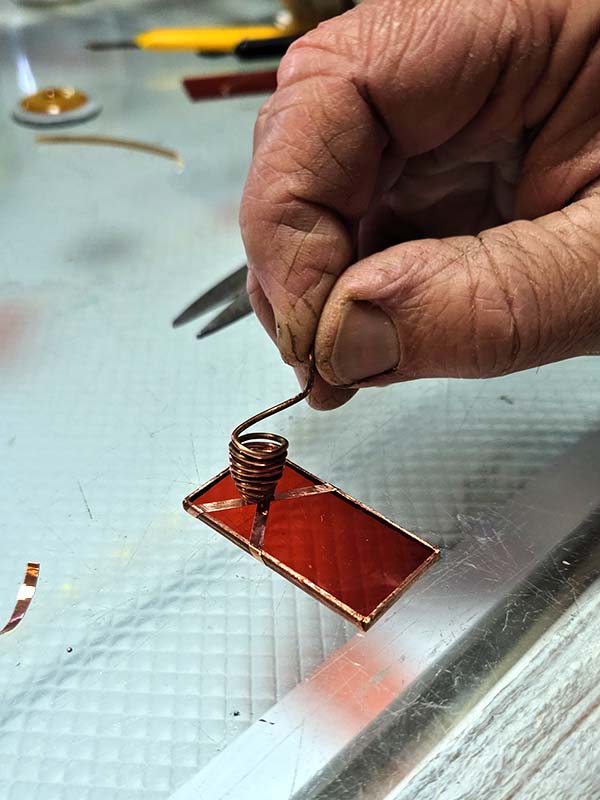
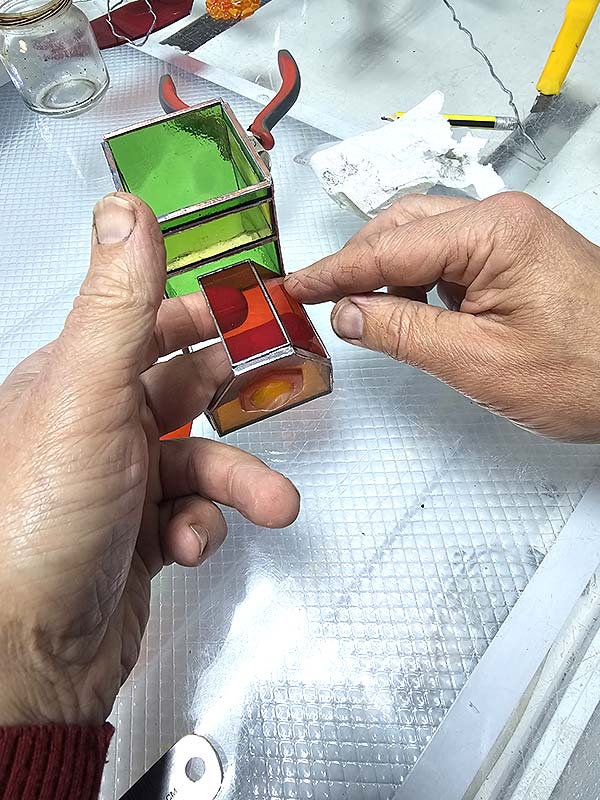
Once you are happy that the shape of the locomotive is neat and truly square, go over it and solder all of the seams properly.
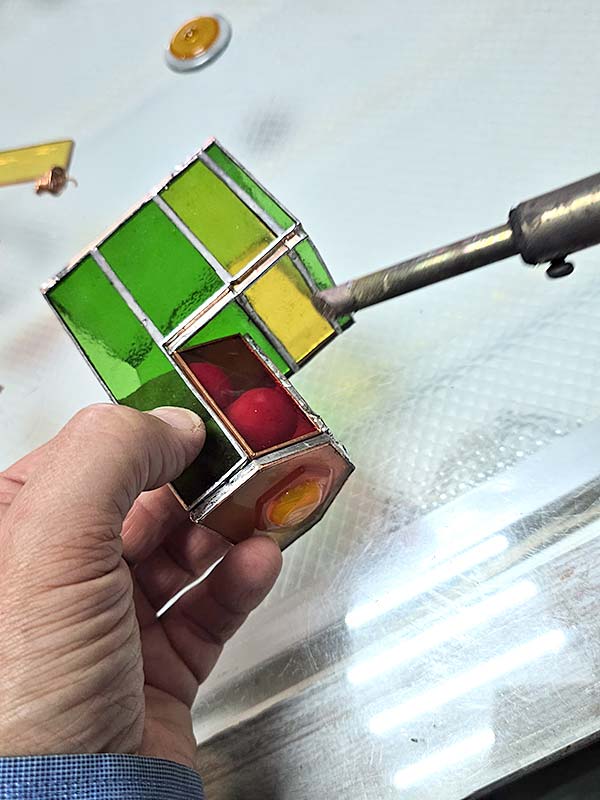
Step 5 — Shape the roof
Lay all five roof pieces flat, right next to each other. Lay one strip of masking tape or artist’s tape across the top of them to hold them together. If you run out, ordinary tape is fine too.
You now have a flexible glass rectangle in your hands. When you lay it over the cab of the locomotive, it will take on the rounded shape it needs all by itself.
Fix the shape of the roof with drops of solder, while the curve is still in place.

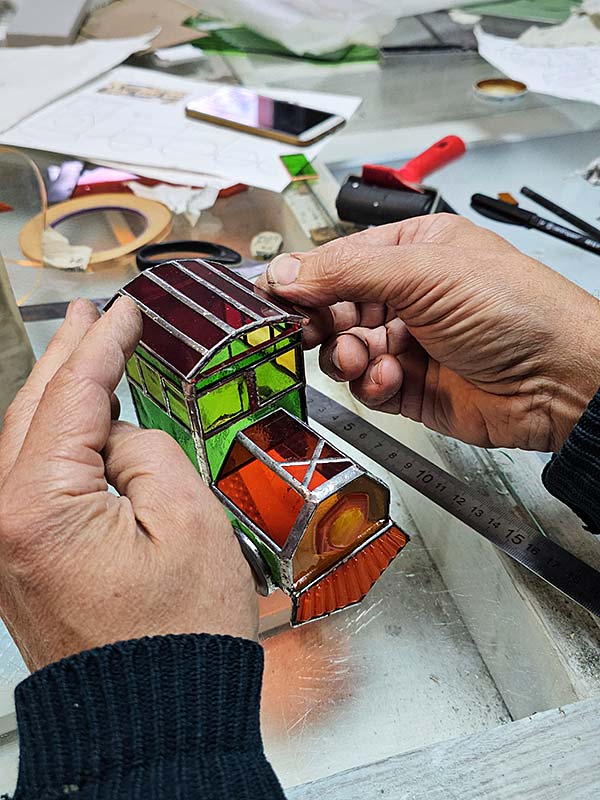
Step 6 — Add the wheels
Here is our recommendation: wherever a wheel touches the glass, glue it on as well as soldering it. We found that soldering alone was not quite strong enough to hold the wheels securely in place.
Step 7 — Add the cowcatcher at the front
We have a glass fusing kiln in our workshop, so we were able to make ourselves a handsome cowcatcher, along with the wheels and the other little fittings.
Now that you have measured the gap between the bottom of the locomotive and the surface it stands on, you can solder the cowcatcher into place.
Please be careful here: make sure the cowcatcher does not end up lower than the wheels. If it does, your locomotive will sit tipped up at an awkward angle.

Step 8 — Couple the wagons to the locomotive
You can solder on a wire loop or a little hook to couple the wagons to the locomotive. Or you can leave it out altogether and simply stand the wagons alongside. This one is entirely your choice.
Step 9 — Add the smokestack
We wound a tight spiral of wire that stands in for the chimney and the smoke all at once. Please feel free to be creative and come up with something of your very own.
Step 10 — Assemble the wagons
Now that the locomotive is finished, the wagons will be straightforward to put together.
Here is the order of work: lay down the floor of the wagon, tack the sides onto it, and then add the ends. Once you are happy with how it all looks, solder every seam. Then glue and solder on the wheels, and add a coupling loop to the front and back if you would like one.
You can also decorate the wagons however you like.
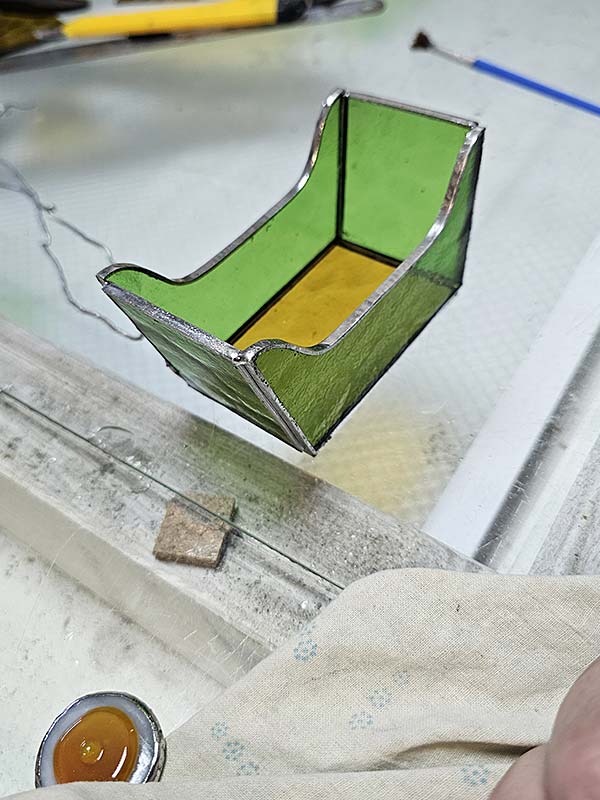
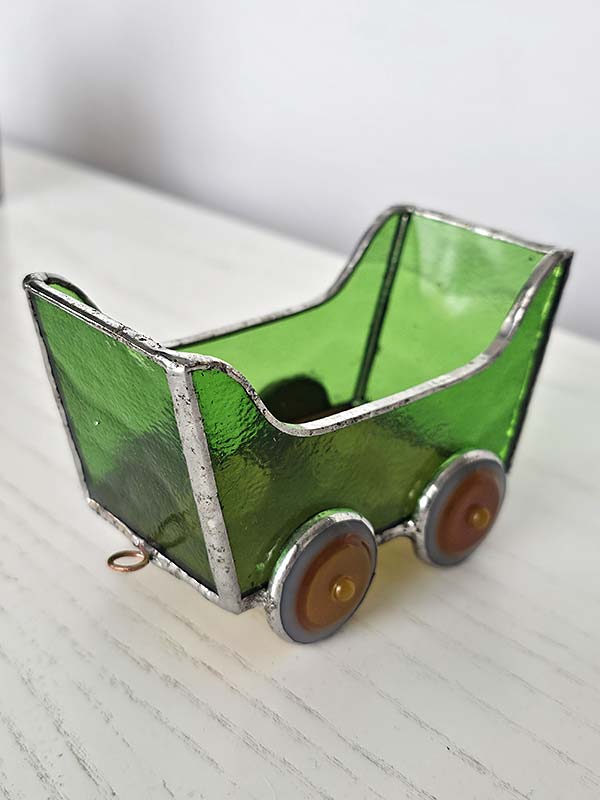
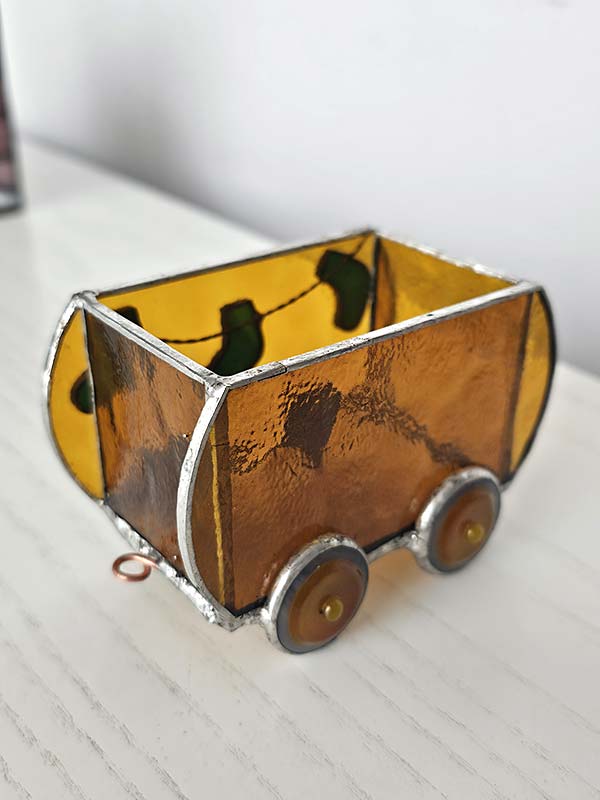
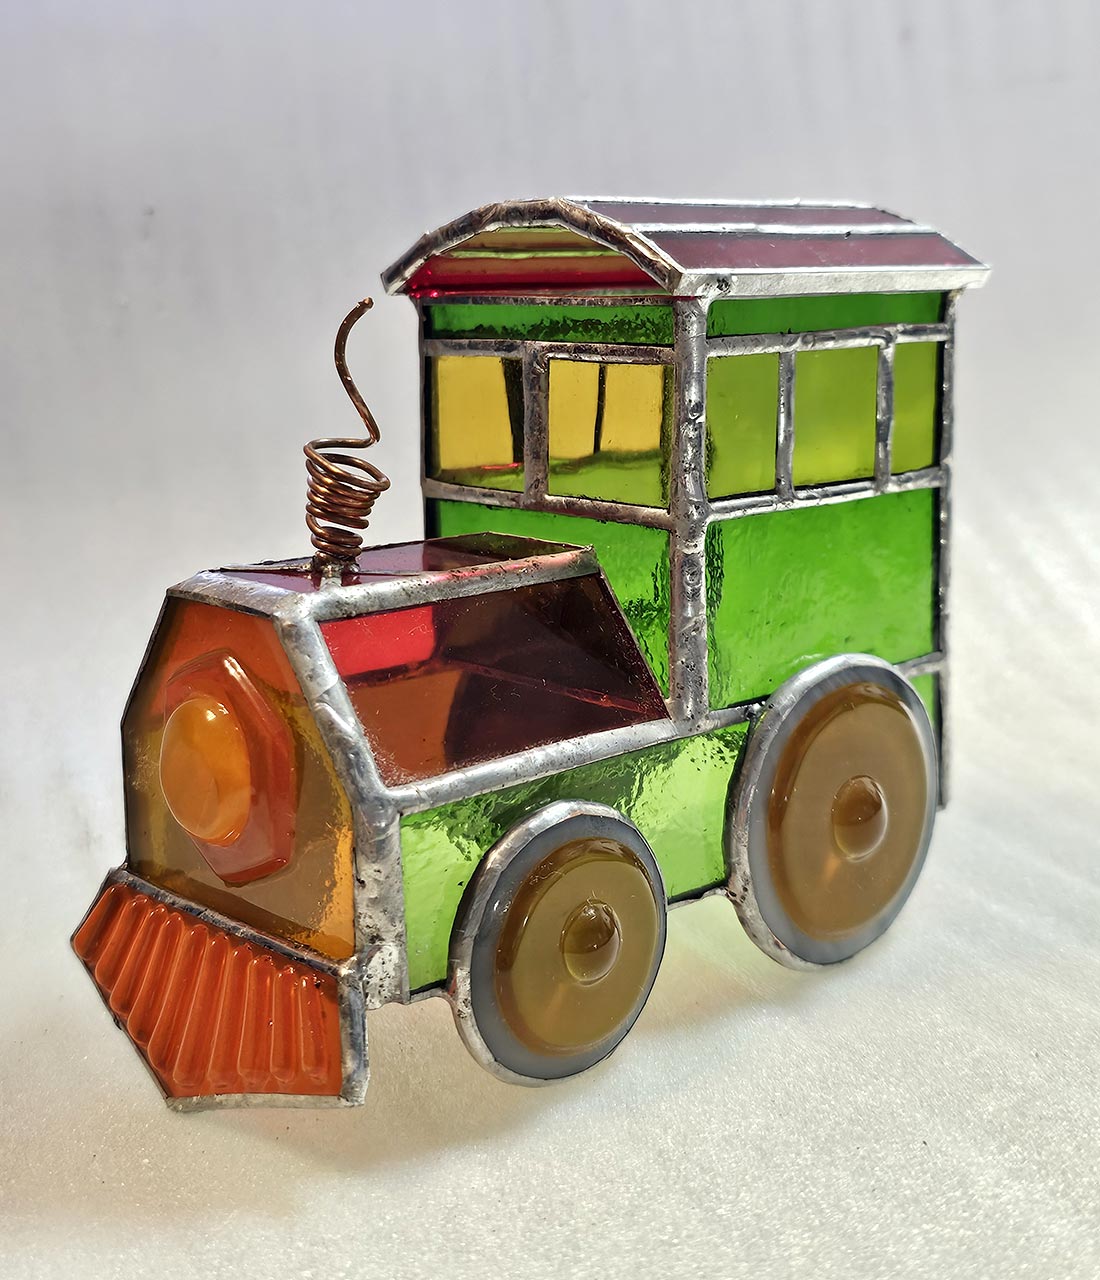
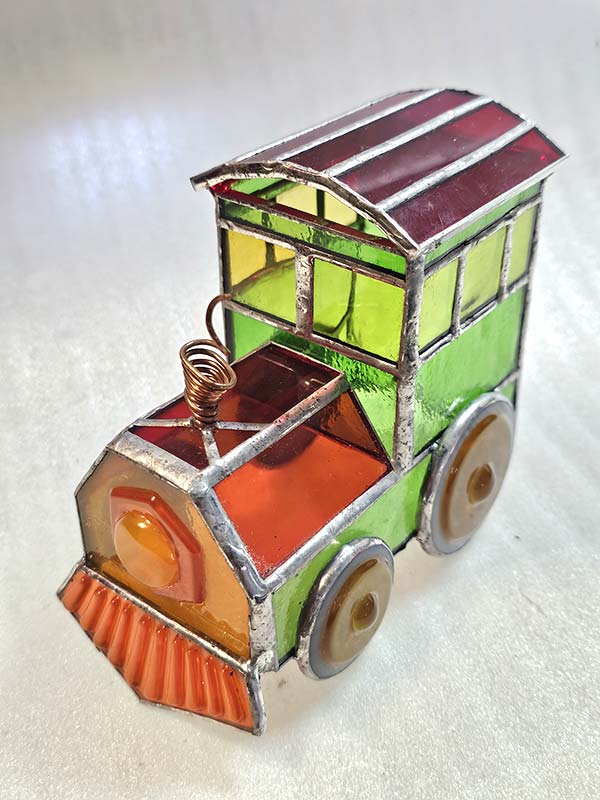
Your train is ready
That is everything — your train is finished!
The last job is to wash it, and then to patina it with copper patina if you have decided to make a vintage-looking train. If you would rather not, simply leave it in silver, and you will have a lovely Christmas train.
Either way, all that is left to do is fill the wagons and put your new train where the whole family can see it.


More 3D stained glass projects
If you enjoyed this one, you will like these too. Each has its own photo guide, just like this page.
A couple of questions we are often asked
Do I need to patina the train?
No, it is completely up to you. Copper patina gives the train a warm, aged, antique look. Leaving it in silver gives you a bright Christmas train. Both are lovely, and plenty of people do one wagon each way.
Can I resize the pattern first?
Yes. If you would like your train a little smaller or a little larger, you can scale the pattern to the size you need with our free stained glass pattern resizer.
Where do I find the assembly diagram?
On page 2 of the pattern, along the bottom. You can see the two flat panels and the numbered pieces in the gallery above, which is the same layout.
What if my locomotive looks slightly different from the photographs?
Please do not worry. Ours was the very first experimental model. Every little difference we found along the way has already been corrected in the pattern, so your version will be the improved one.
Do you have another question? Have a look at our stained glass patterns FAQ — it covers file formats, printing, sizes and licensing.