

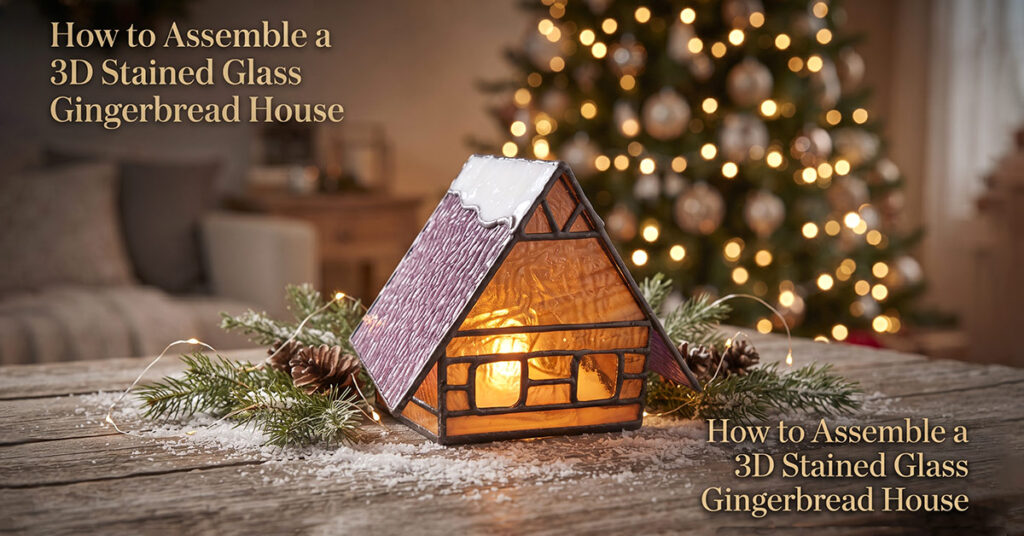
How to Assemble a 3D Stained Glass Gingerbread House
How to Assemble a 3D Stained Glass Gingerbread House: A Beginner-Friendly Guide
You asked, and we listened! This is the third delightful project in our Christmas Village series, and it was designed specifically with beginners in mind.
Featuring simple, generously sized details and an irresistibly cute shape, this gingerbread house is a joy to make. The pieces are easy to cut, lay flat in a single plane, and solder together. Whether this is your very first 3D stained glass project or you are looking for a relaxing, festive craft, you are in the right place. Let’s create something beautiful together!
✨ What You Will Need
- The printed Gingerbread House pattern (conveniently formatted to fit perfectly on two standard sheets—no taping or cutting of the pattern required!).
- Your favorite stained glass pieces (see my glass recommendations below!).
- Standard tools: glass cutter, running pliers, glass grinder, copper foil, flux, and a soldering iron.
Step 1: Choosing and Preparing Your Glass
First, I laid out my pattern and began selecting the glass. I wanted this house to look authentically like a gingerbread treat, while still harmonizing beautifully with the rest of our Christmas Village collection.
For the walls, I chose a warm, textured glass. For the roof, I wanted a beautiful red that looks just like ceramic tiles, so I used Wissmach W145SPGranit paired with Spectrum 151RR. For the little snowball on the roof, Spectrum 209FLE looks exactly like fresh, fluffy snow! Finally, for the door, Spectrum 411-15C gives a lovely, realistic wood-grain effect.


Once the glass is chosen, I place it on my light desk, trace the pattern pieces with a marker, and carefully cut them out. I love taking a moment to arrange the cut pieces and match their textures and “divorces” (natural glass patterns) so they flow beautifully together.
Step 2: Grinding and Foiling
After cutting, I check how well the pieces fit together. I then use the glass grinder to gently smooth away any sharp edges. This step is crucial: it not only makes handling the glass safe, but it also allows the pieces to nestle together much more tightly for a professional finish.

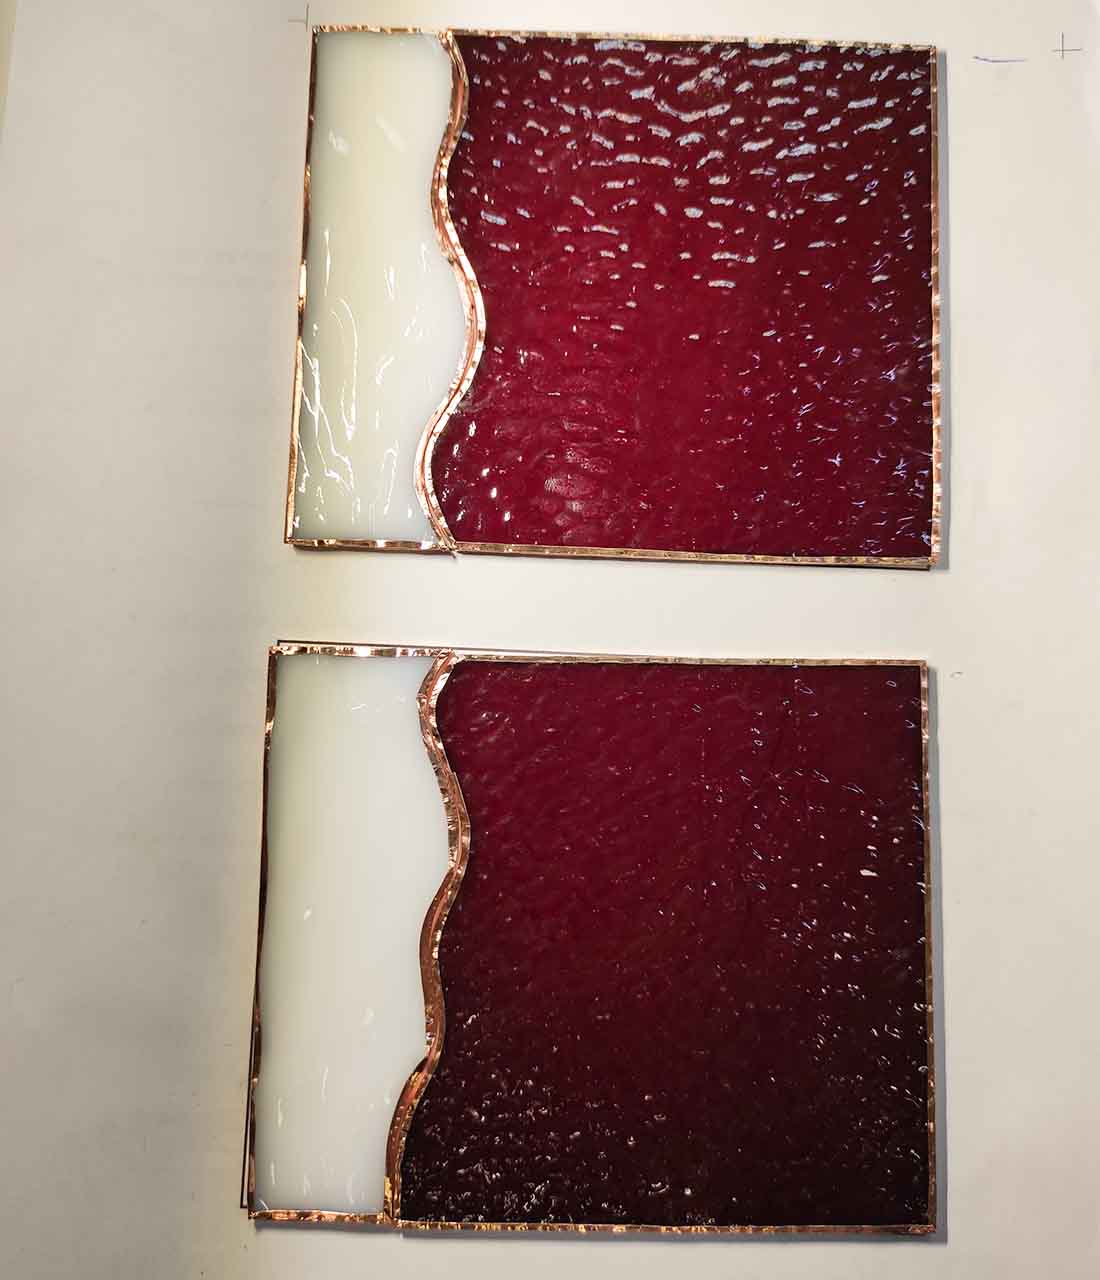
Once all pieces are ground and dry-fitted perfectly, it is time to apply the copper foil.

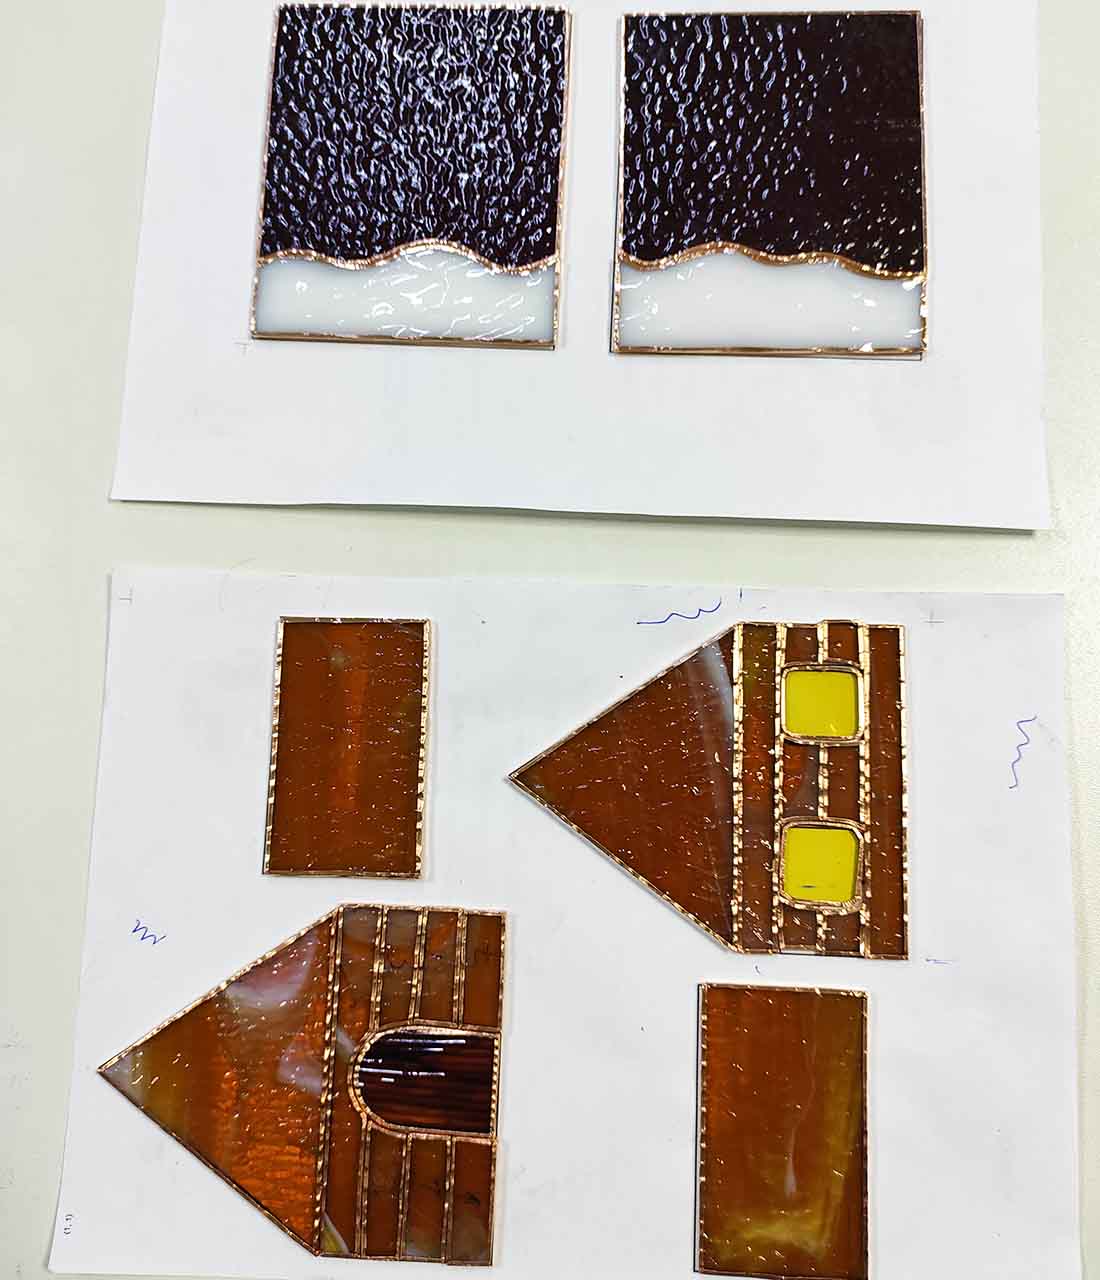
Step 3: Soldering the Walls
Now for the satisfying part: bringing it all together! I like to solder the pieces point-by-point first to tack them in place. Once the shape is secure, I gently run the soldering iron along the seams to create a smooth, continuous bead.
To assemble the four walls into a 3D box, I use a simple, highly effective trick: I connect two sides at the corner of my work table. The table edge acts as a perfect 90-degree guide, holding the walls upright and steady while I solder the corner seam. You can use any clamping method that feels comfortable to you, but the table corner trick is a wonderful, tool-free solution!
Step 4: Adding the Roof
With the four walls securely soldered into a box, we move on to the roof. Since this design features an overhead roof, we will solder it separately and then place it on top.
I test-fit the roof panels onto the corner of the house to ensure the angle is correct.
Once the roof panels are soldered together, gently place the finished roof onto your house. It should sit snugly and proudly atop the walls.
Step 5: The Magic Finishing Touches
Your little Christmas house is structurally complete, but we can make it even more magical! After cleaning and patinating the solder lines, I decided to add a whimsical touch: I hand-painted delicate frost patterns and icicles directly onto the glass.

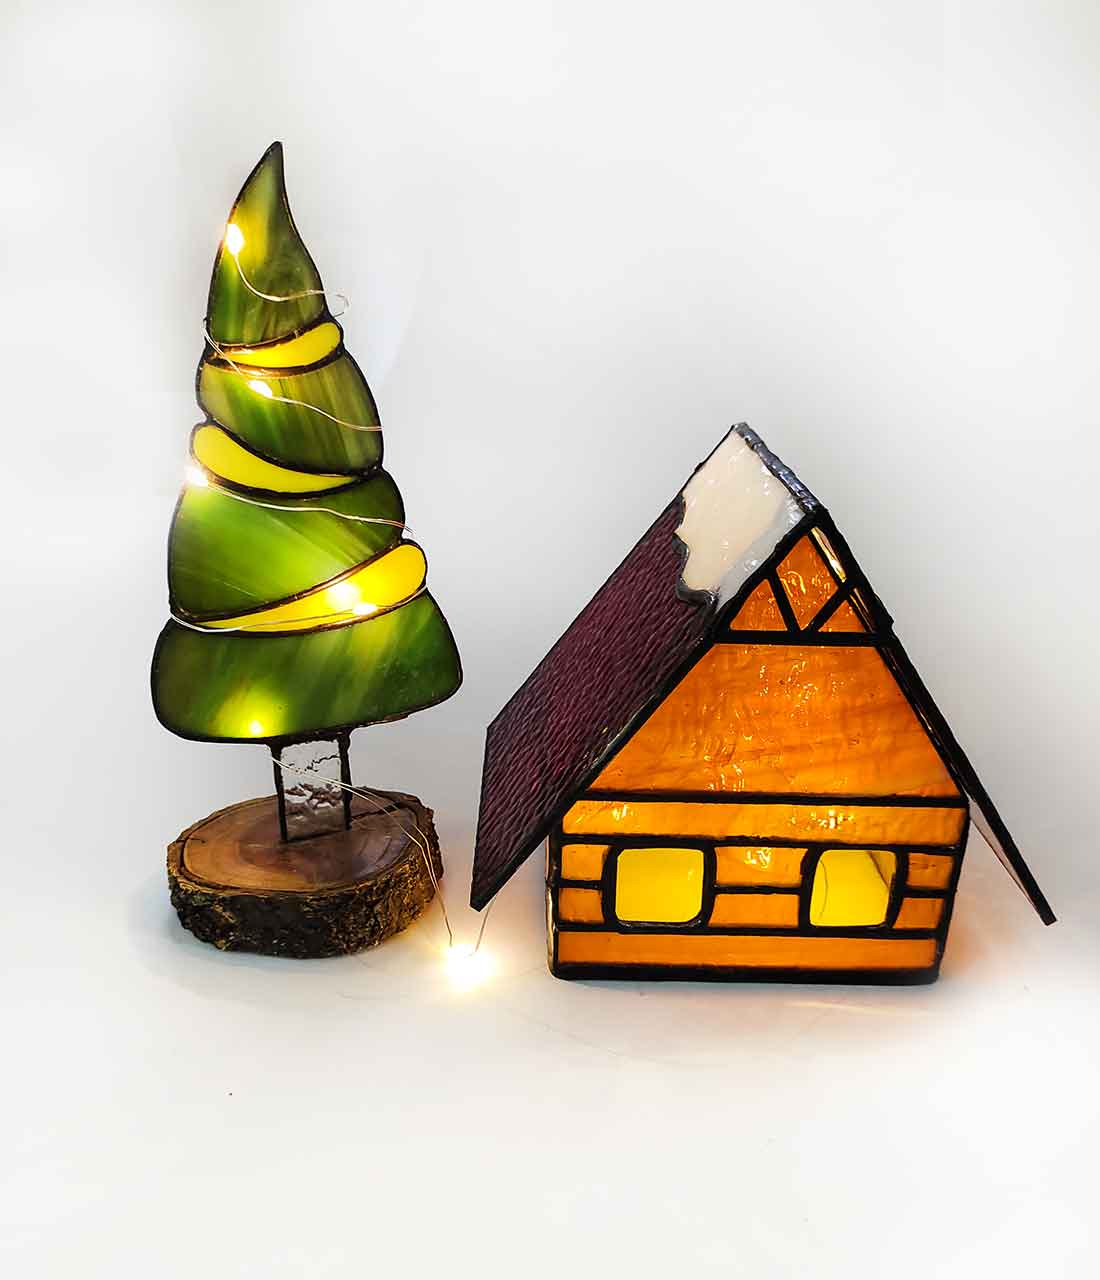

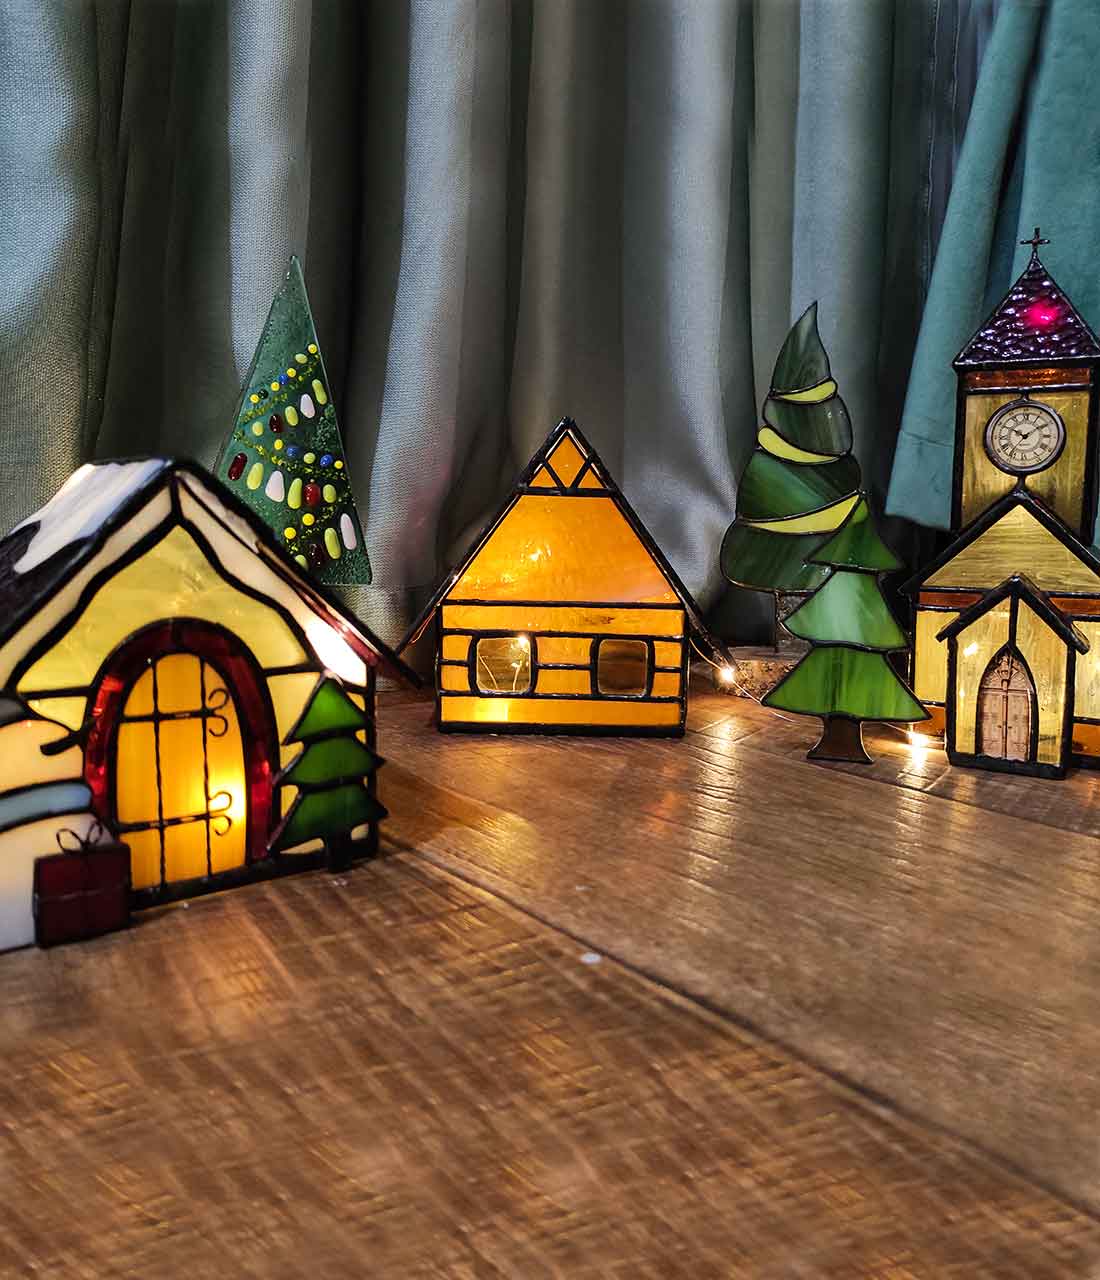
This simple addition makes the house look as though it has just been dusted with a fresh, magical winter snow. You can use special glass paints or enamel for this step.
🎉 Hooray, You Did It!
Your beautiful, handcrafted gingerbread house is complete. It is simple, charming, and ready to bring festive joy to your home for many holidays to come.
Continue Your Christmas Village Collection
This gingerbread house is the third project in our beloved series. If you loved making this, be sure to check out the instructions for the other cozy patterns to complete your village:

