

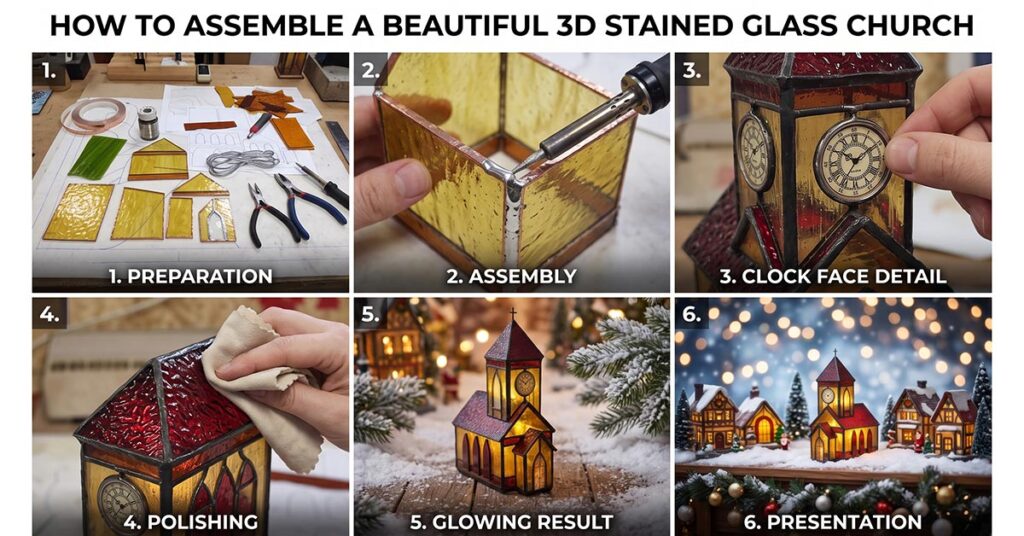
Assembly Instructions Stained Glass Christmas Village
Welcome to Your Stained Glass Church Journey
I am so delighted to share my personal experience and favorite techniques for assembling this beautiful stained glass church pattern.
Please remember: there is no single “right” way to create art. Every artist develops their own unique style and accumulated skills over time. I will walk you through my step-by-step approach to building this 3D glass masterpiece, but I warmly encourage you to experiment and adapt these steps to suit your own creative vision. Above all, take your time, breathe, and have fun with what you do!
✨ Before We Begin: Preparation
The church model consists of two main parts: the church building and its tower. We will make them sequentially and solder them together at the final stage.
- Print out your purchased pattern on sturdy paper.
- Prepare your tools: glass cutter, running pliers, grinder, copper foil, soldering iron, and flux.
- Select and clean your glass pieces.
Step 1: Making the Church Body (Foundation)
First, we create the foundation of the church. The walls are the most straightforward part of this project, making it a wonderful place to build your confidence.
- According to your pattern, carefully cut the glass for the church walls.
- Apply copper foil evenly to all edges of each glass piece.
- Arrange the pieces flat to form the individual sides of the building.

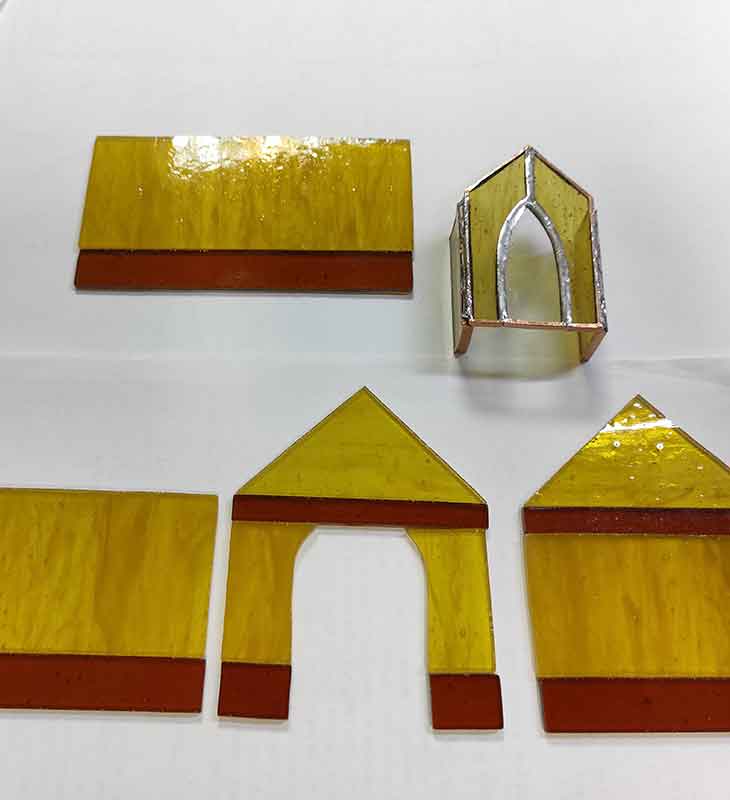

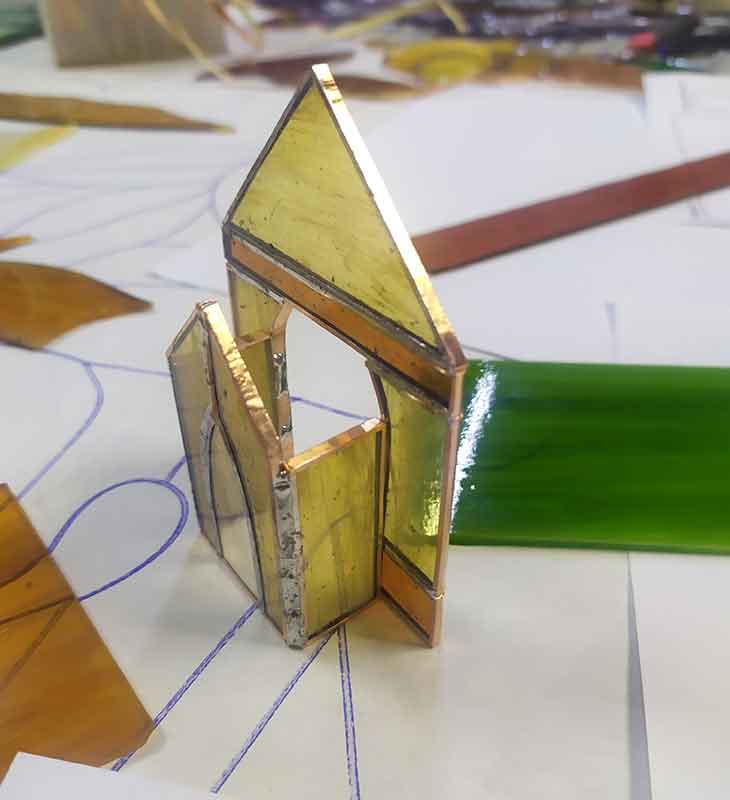
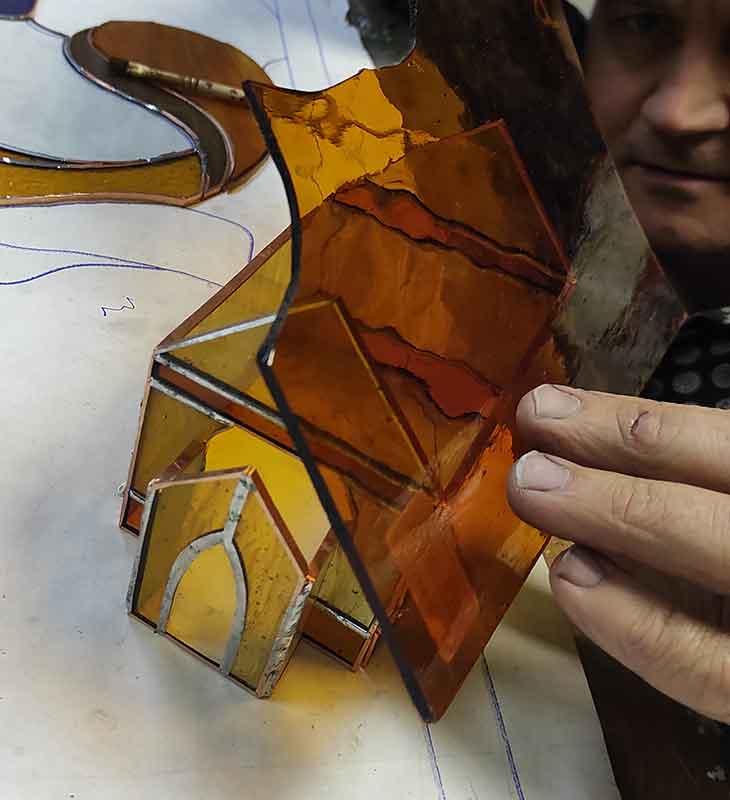
Next, we begin soldering the planes together to form the 3D building box. To solder two planes together at a perfect 90-degree angle, I use a supportive jig (as shown in the photos). If you have a method that works better for you, please use it!

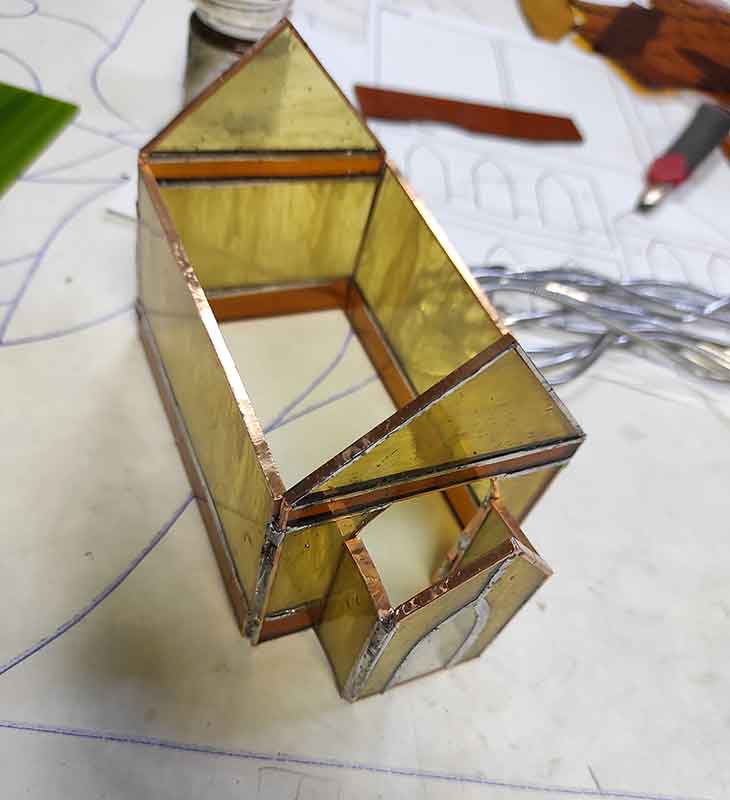
Step 2: Crafting the Roof
Now, let’s build the roof. First, dry-fit the glass to estimate the size of each roof panel. You can match the angle of the main church corner or make it slightly sharper for a more dramatic look.

Step 3: Building the Tower Roof
The tower roof is a delight to make! Four equilateral triangles connect perfectly when their edges are beveled at 45 degrees.

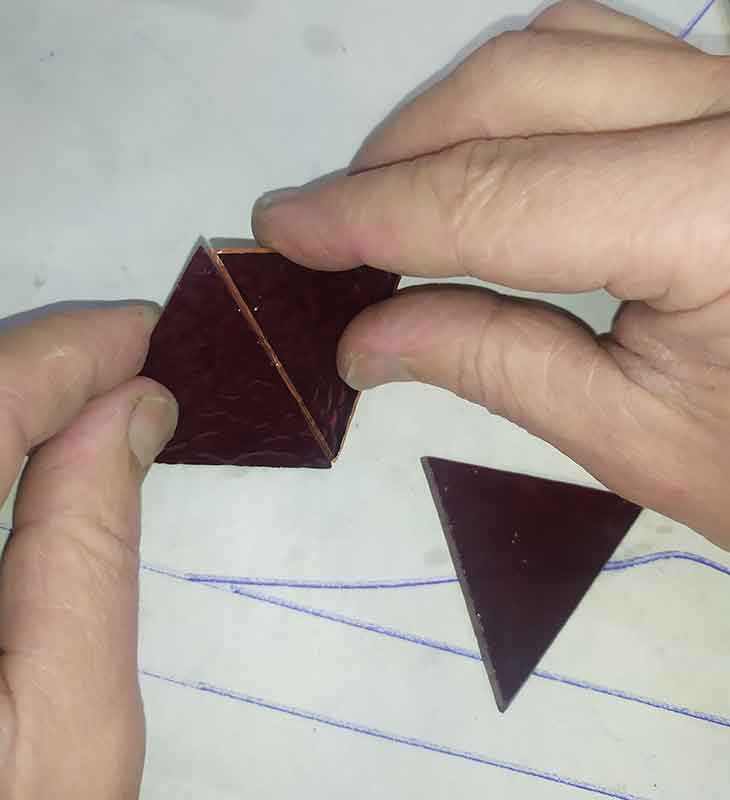
Once the roof is soldered, connect it to the base of the tower. Solder the seams, and your beautiful church tower is complete!
Step 4: Final Assembly of the Christmas Village Church
If you chose the design with overhead windows, now is the time to solder all the windows into the finished body. (If they are already installed, you can skip right ahead!).
Next, solder all the exterior seams of the church and connect the main roof. The main box is now complete!
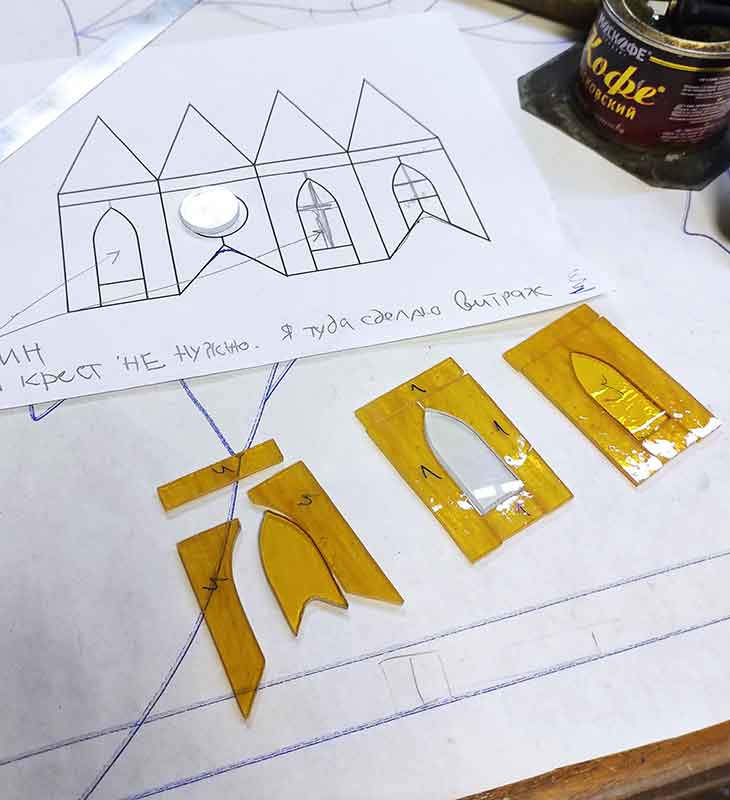
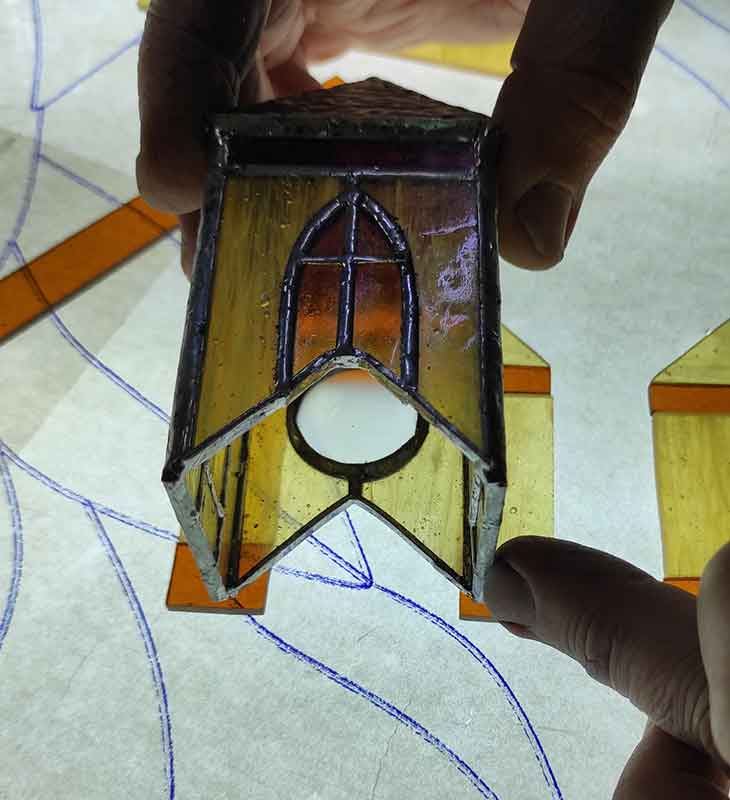
Now, let’s build the tower base. Cut out the details for your future steeple, applying the same careful foiling and fitting process as before.



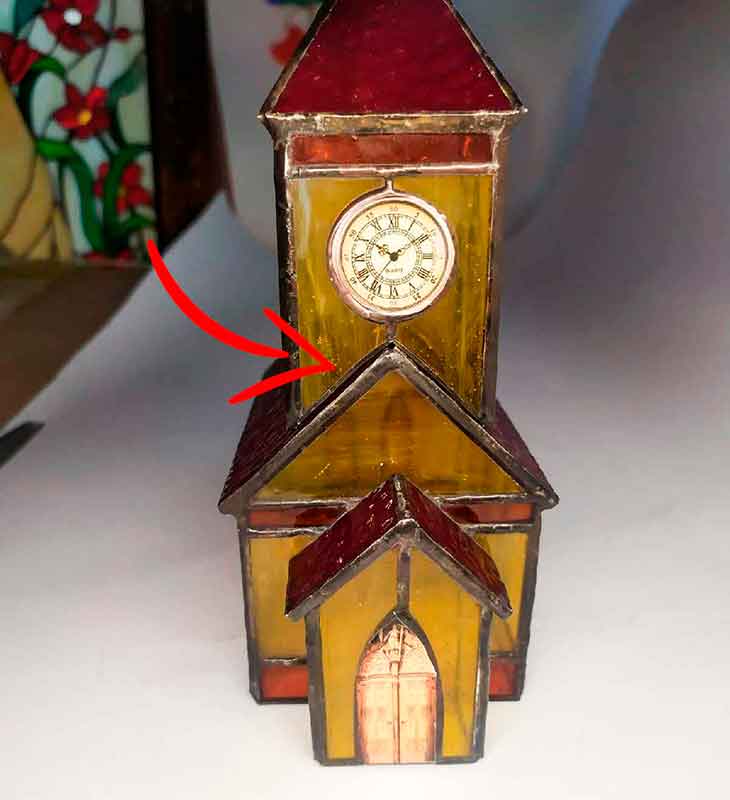
Step 5: Drilling a Hole for the LED Garland
If you want your tower to glow magically from within, you can carefully drill a hole in the roof of the main church box using a thin glass drill bit and plenty of water or lubricant. This allows you to thread the LED garland wire neatly into the turret.

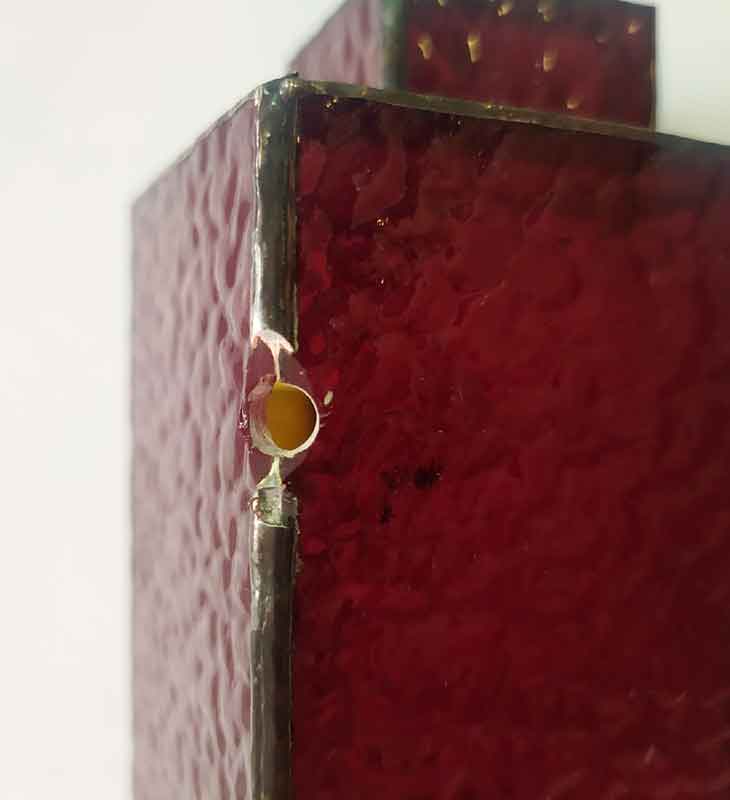
Once the hole is ready, place the turret on the church and solder it securely at all touching seams.
Step 6: Applying Patina and Finishing Touches
Clean your piece thoroughly, apply your chosen patina to the solder lines to give them a beautiful, dark finished look, and wax the entire piece to protect it and bring out the vibrant colors of the glass.
Adding Stained Glass Window Details
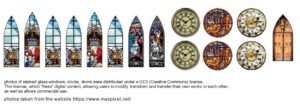
To bring your Nativity Church to life, we offer printable stained glass stickers for the windows, doors, and church clock. You can print these on self-adhesive paper for easy application, or on regular paper and attach them with a strong, clear-drying craft glue. Alternatively, you can create these details using traditional colored glass and leading for an authentic, handcrafted look.

🎉 Hooray, You Did It!
That’s it! The most beautiful church for your Christmas village, created with your own two hands, will delight you and your loved ones for many years to come.
Continue Your Christmas Village Collection
This church is the second project in our beloved Christmas Village series. If you enjoyed this process, you might want to explore the other cozy patterns:

That’s good but they pattern want open after I downloaded it