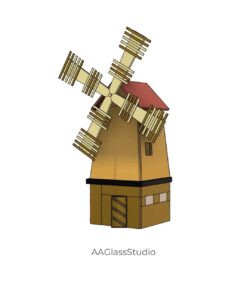
3d Stained Glass Windmill How To Make
This guide will walk you through the steps for assembling the stained glass windmill, designed to be simple and quick.
Table of Contents
Introduction
Explore a wide selection of unique stained glass patterns, categorized for easy browsing. You’ll find patterns for every skill level, from beginner to advanced. All patterns come with printable PDF files and a commercial license. Most include an SVG file for cutting with a Cricut machine.
The 3D windmill pattern is a new addition to our Christmas Village collection, though it can also be used as a standalone decoration. By inserting a string of LED lights inside and powering it up, the windmill turns into a charming nightlight.
All our 3D models have been tested for error-free assembly, and this guide will help you create your very own windmill.
1. Stained Glass Windmill: Preparation
This guide will focus on the assembly of the windmill. We will skip the details about tools and glass selection, as this is strictly about the step-by-step assembly based on our studio’s pattern.
Step 1: Creating the Windmill Base
If you have a Cricut machine, there’s an SVG file in the pattern set that allows you to quickly cut vinyl for this stained glass windmill.
Otherwise, print the pattern from the PDF file and cut the glass pieces according to the pattern.
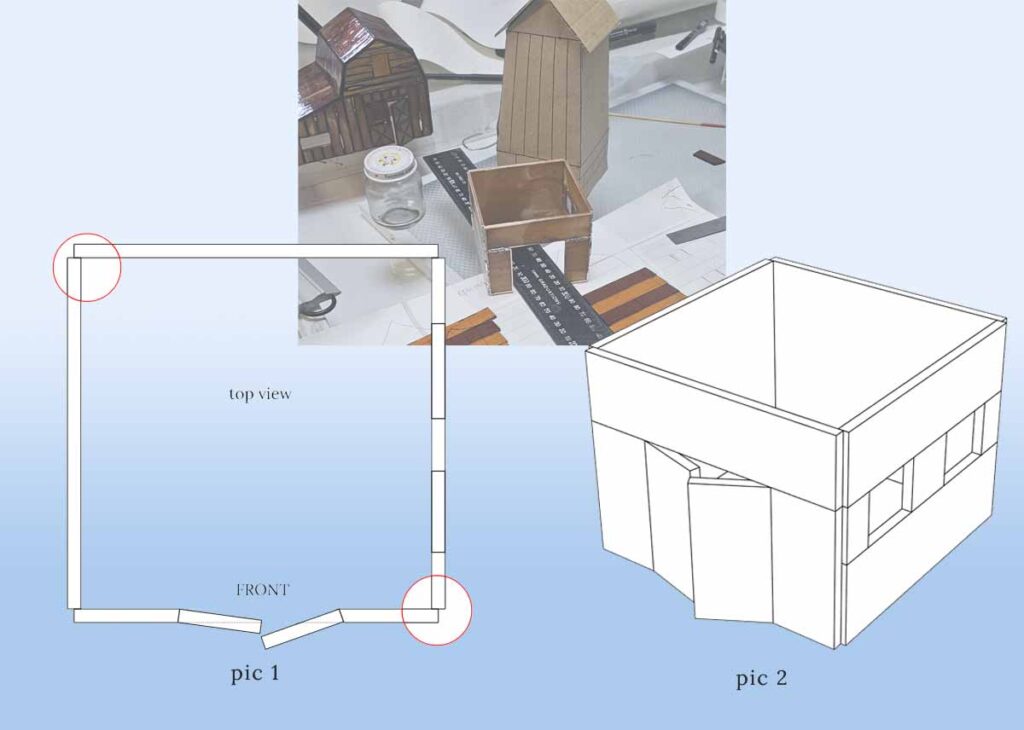
Step 2: Assembling the Walls Into a Box
Pay close attention to the red circles in the first diagram, showing how to position the walls relative to each other. Make sure each panel overlaps correctly, or the other parts won’t fit together later.
This positioning results in elegant seams and gives structural rigidity to the box.
The soldering process is similar to what’s shown in our Stained Glass Stacked Books Lamp assembly guide, particularly in the section: Let’s make the frame of the first book.
Step 3: Making the Base of the Box from a Mirror
The size of the box will depend on the thickness of the glass you’re using, so it’s best to craft the base to fit the actual dimensions.
It’s advisable to solder the base at this stage, although in our video, the base is added later. We tested the pattern and found it’s better to attach the base now to optimize the assembly of the 3D stained glass windmill.
Why use a mirror? The LED lights inside the windmill will reflect off the mirrored surface, transforming it into a nightlight.

Step 4: Making the Windmill Walls
You have two options: either cut the windmill walls from a single piece of glass or create separate sections for details like windows. We opted for the more time-consuming approach, cutting out individual pieces to create a more intricate design.
In the video, you’ll see how we cut the glass and maintain the geometry of the panels.
Step 5: Deciding if the Windmill Blades Will Rotate
We chose to make the windmill blades rotate. This complicates the project, but we’ll explain how to keep it as simple as possible.
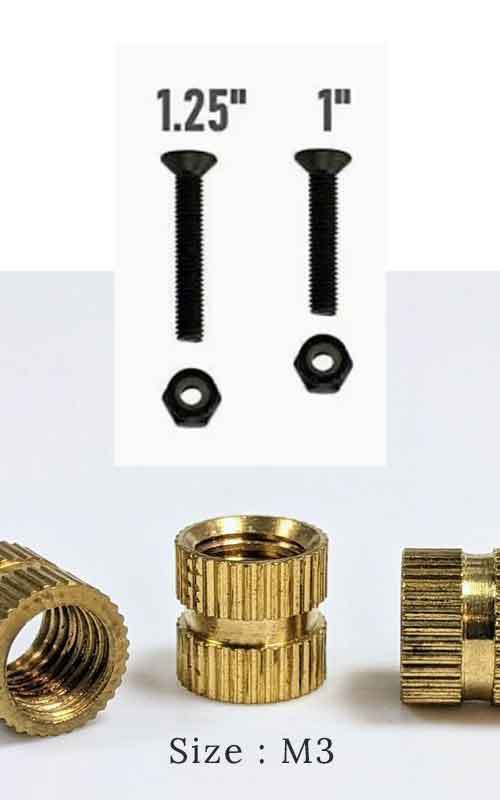
If you decide to go this route, you’ll need to figure out what to use for the axis and bearing. We improvised using materials we found in the workshop. The axis is a screw, and the bearing is a TAUFE Nut, 1-piece Solid Copper Brass Thread (Size: M3).
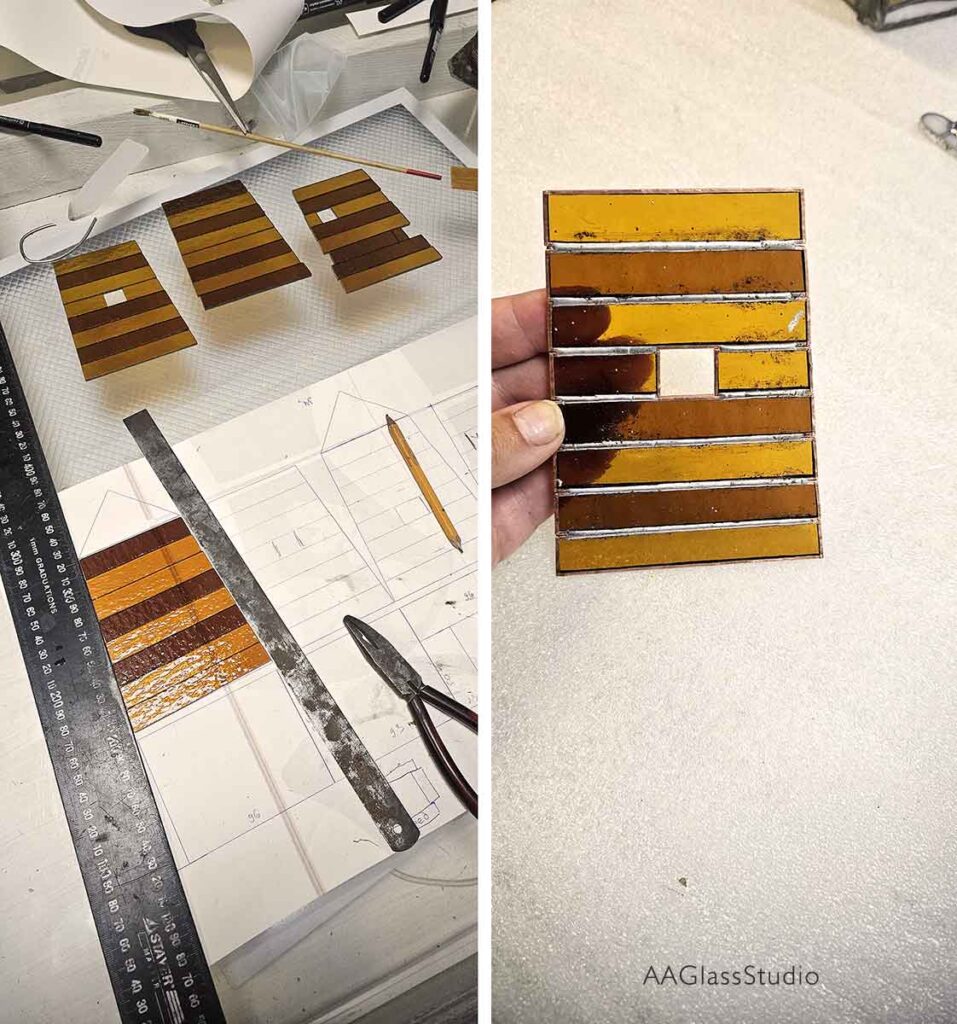
Step 6: Making the Blades and Front of the Windmill
Cut the glass for the blades and the front panel, wrapping each piece in copper foil, considering the size of the bearing you’ll use.
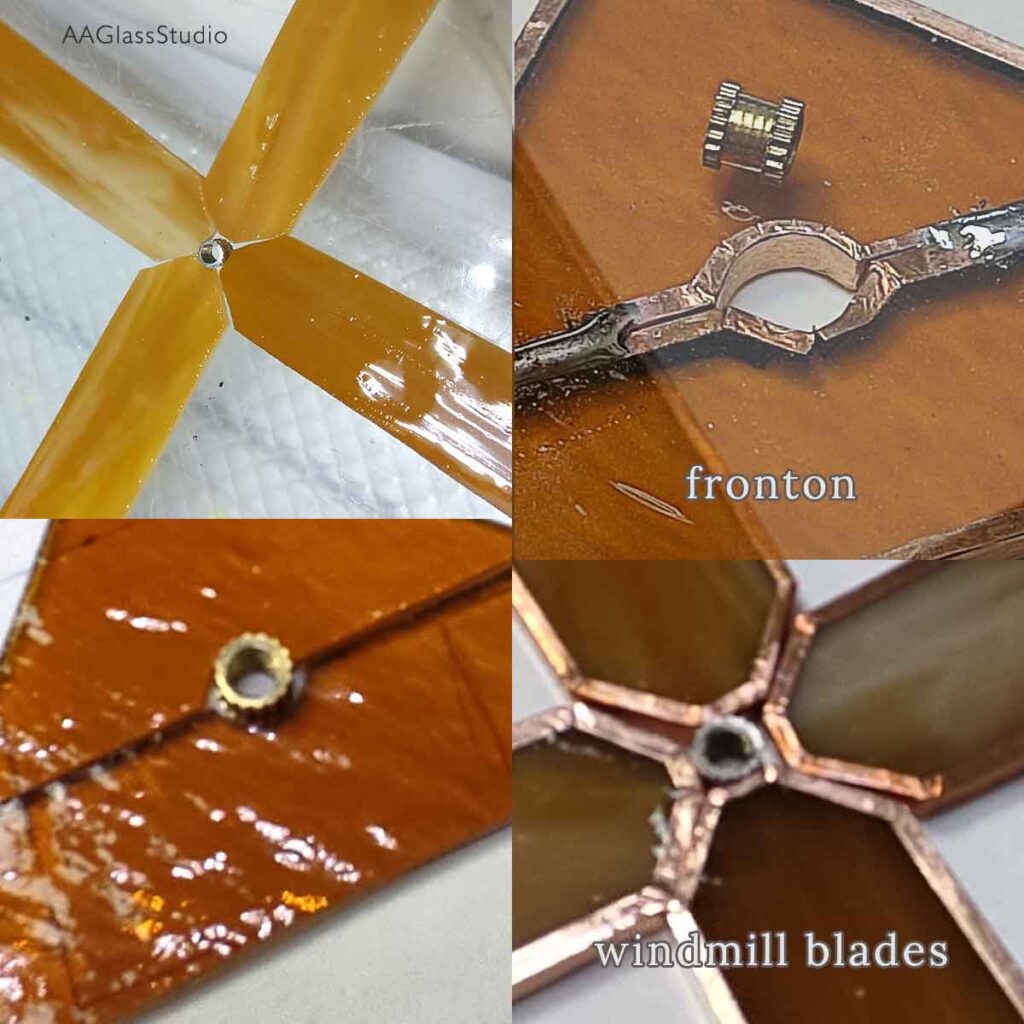
In the video, we show how to solder the bearing into the blades. Since we used a threaded screw for the axis, you’ll need to file down or otherwise remove the threads near the head so the blades can rotate freely without catching on the threads.


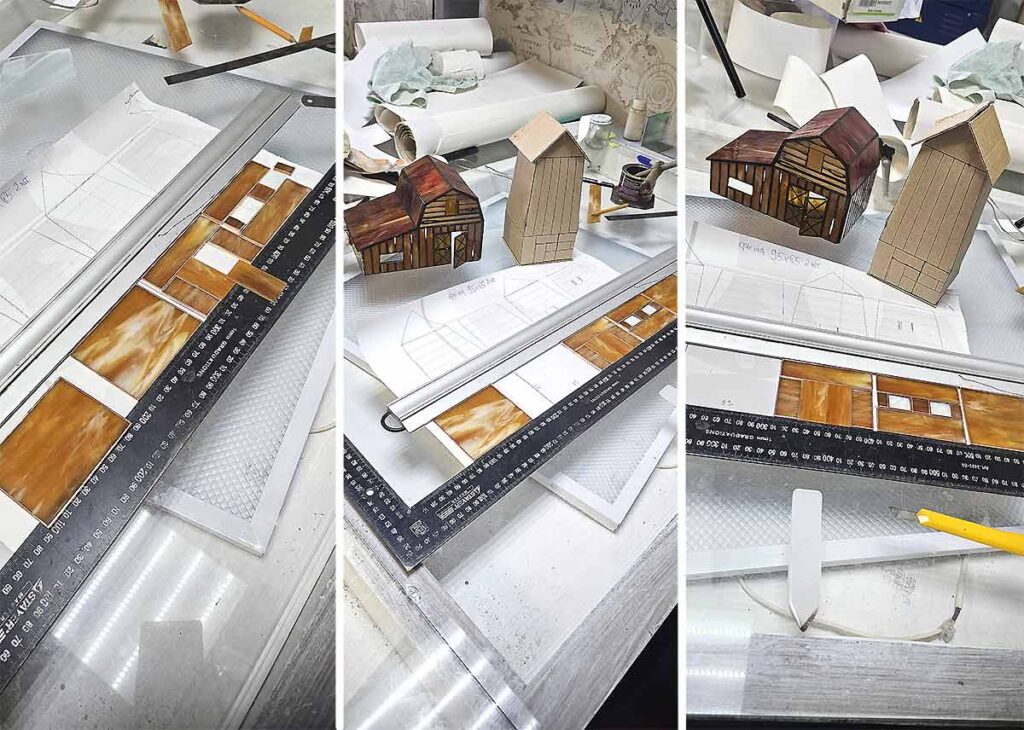
2. Stained Glass Windmill: Assembling the Body
At this point, the base box is soldered together, the walls and front panels are ready, and the blades are assembled (but not decorated yet). See the diagram below.
Don’t solder the front panel to the walls yet. As shown in the diagram, it’s positioned at an angle to the wall. We’ll solder it later, after assembling the body.


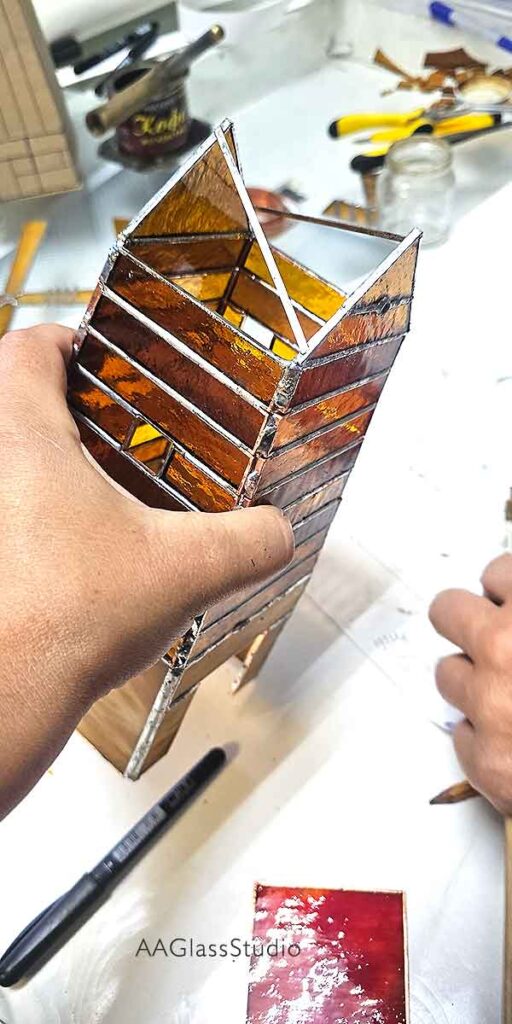
Step 7: Assembling the Body from the Wall Panels
This step is demonstrated in the video. Be careful not to mix up which panel goes where.
Attach the front panel to the base first, slightly tilting it inward, and secure it with a few drops of solder. Don’t solder the entire seam yet, as we need some flexibility to align all the panels correctly. Don’t worry about the angle; the pattern is designed so that the correct angle forms automatically once all panels are in place.


After aligning all the panels and ensuring the geometry is correct, solder all the seams.
Next, solder the front panels. Reinforce the front panels with re-strip as shown in the photo.

This reinforcement will provide the necessary rigidity to support the windmill blades.
Step 8: Making the Roof
This is probably the easiest step. Place the glass pieces on the front panels and solder the seam at the top. The roof is not attached to the windmill; it’s removable so you can place a light inside, turning the windmill into a nightlight.
If you plan to add a decal of roof shingles, it should be applied after soldering and patination. Yes, this will be a challenge for beginners, but the result is worth it. You can find all decals for cutting in the file decals-SVG.svg
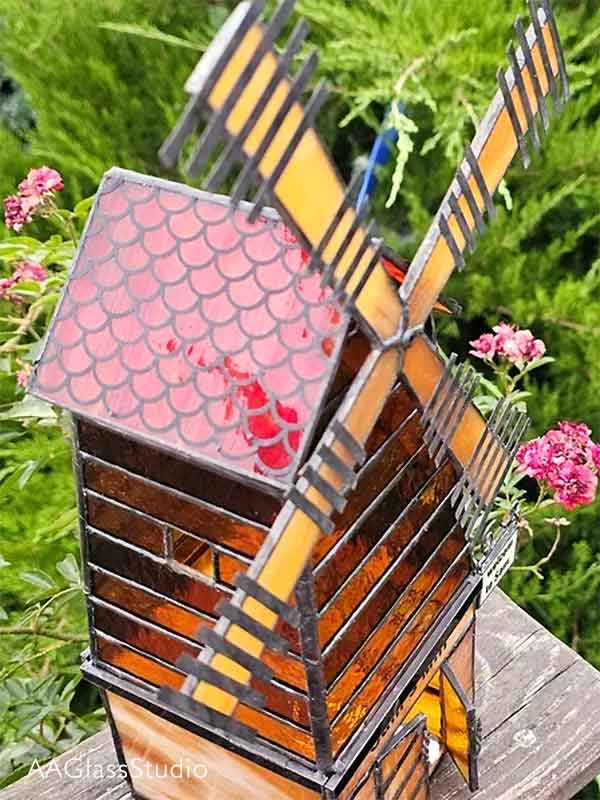
Step 9: Windmill Decorations
Here are some decoration ideas for this project:
- Windmill blades: Pre-cut and tinned re-strip can be soldered on.
- Doors: Use re-strip for frames and create door handles from twisted wire.
- Sign: Combine wire with a decal or replace the decal with a marker inscription.
- Decals: Add inscriptions or a roof shingles effect to the roof.
Take a look at the photos and videos to see how we added these decorations.


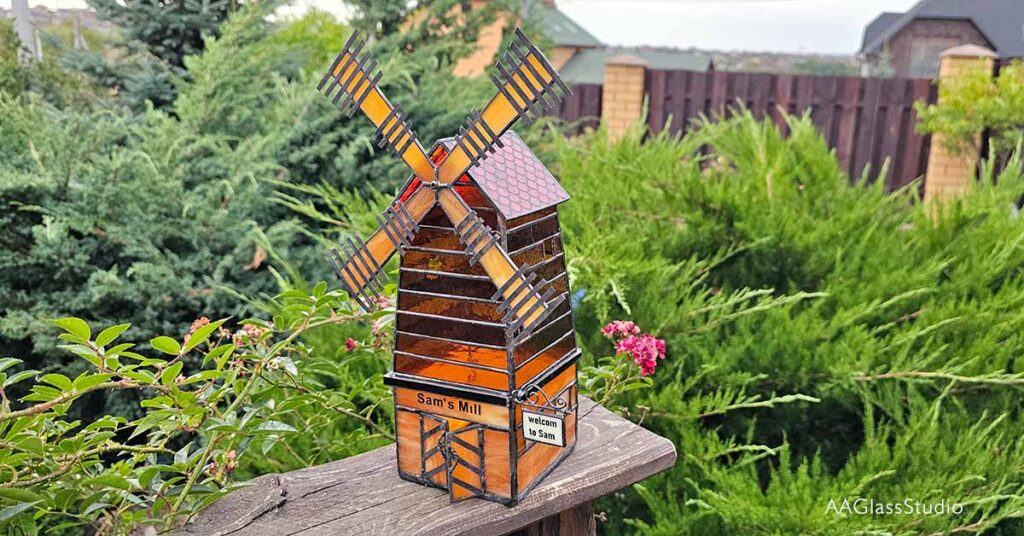
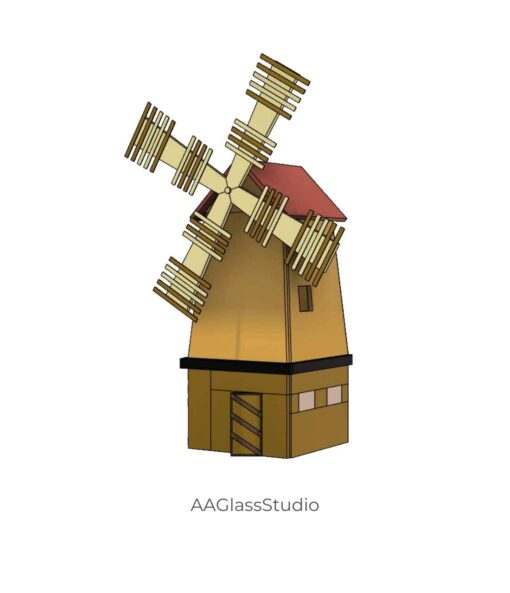
3D Stained Glass Windmill – Final
This is what you should get. Feel free to experiment with different glass colors! Our customers have sent us photos of other 3D stained glass projects they’ve made using our patterns, and we can assure you the final result can be transformed by simply choosing different glass.


Conclusion:
This guide provides detailed instructions for assembling a 3D stained glass windmill, which can be used as a standalone decorative piece or as part of the Christmas Village collection. Adding LED lighting and rotating blades enhances both its functionality and aesthetic appeal. By following the provided tips, you will be able to assemble the windmill with minimal difficulty and customize it to your liking by incorporating various decorative elements.
Gorgeous 3D Windmill Stained Glass
Digital product, printable PDF & SVG, Commercial license h=9.57″ (243 mm) w=3.94″ (100 mm) 59 piece of glass 28 if you don’t make plank walls Gallery of your works ↓
-
 Vintage Stained Glass Truck Pattern PDF – DIY Charming 3D for Gift$12.60
 -
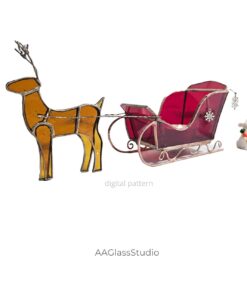
Warm Memories – Heartwarming Stained Glass Sleigh & Reindeer Gift Set$11.20
-
Adorable Stained Glass Animal Lamp Pattern – Pet House$16.50
-
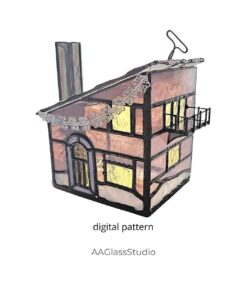
Spooky 3D Halloween Stained Glass Haunted House Pattern$16.50
-
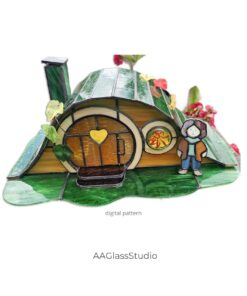
Whimsical Hobbit House Stained Glass Pattern – 3D Light$16.50
-
Stained Glass 3D Pattern: Vibrant Whimsical Forest House$17.85
-
Charming Lavender Stain Glass House Pattern$12.40
-
Gorgeous 3D Windmill Stained Glass$16.00
-
Easy 3d Stained Glass Pattern Church For Beginners$11.51
-
3D Stained Glass Incense Holder – Christmas Village House$17.86