Stained Glass How To Solder: A Complete Guide for Perfect Seams
Stained Glass How To Solder
Table of Contents
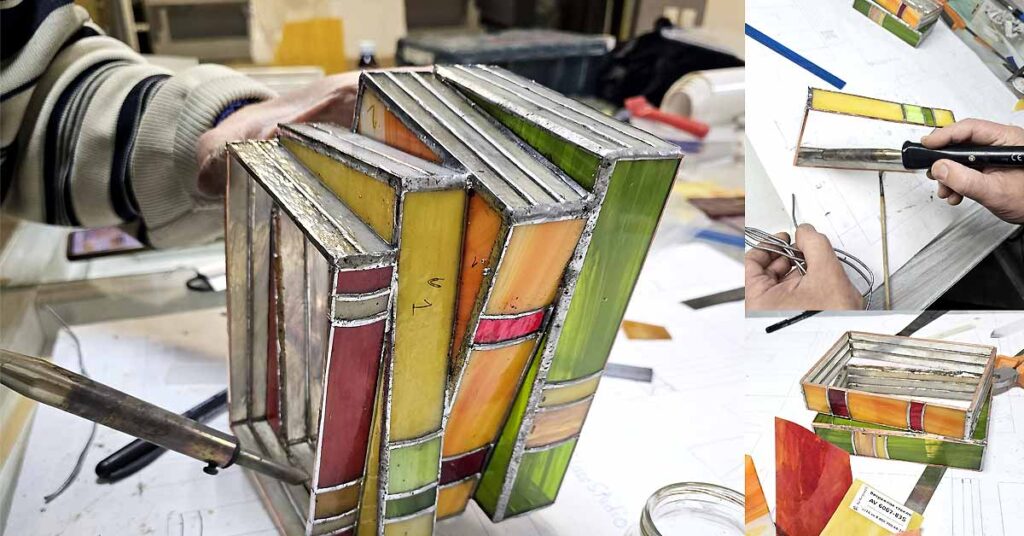
Here, I will explain how to achieve a beautiful soldered seam on your sun catchers.
If you’re frustrated with your soldering results—messy seams, soldering iron sticking to the seam, and a lack of smoothness in your soldering movements—know that your experience isn’t the issue. You may have chosen the wrong soldering iron or solder.
AAGlassStudio – stained glass patterns, sun catchers, and helpful information on how to make stained glass.
Choosing the Right Solder
Solder is a metal or alloy used to join metal pieces by melting. For stained glass, we use a tin-lead alloy. Not all tin-lead solders will give you a quality seam. The best solders for stained glass are “60/40 Solder” and “63/37 Solder.”
| Solder Type | Tin Content (%) | Lead Content (%) | Melting Temperature (°C) | Melting Temperature (K) |
|---|---|---|---|---|
| 60/40 Solder | 60 | 40 | 183-190 | 456-463 |
| 63/37 Solder | 63 | 37 | 183 | 456 |
As you can see, the higher the tin content, the lower the melting temperature. From my experience, working with 63/37 solder is more comfortable. Switching from 63/37 to 60/40, you will notice that the soldering iron starts to lag. Using solder with less than 60% tin can overheat and crack your glass, especially hand-made glass.
Always buy your solder from a reliable source to avoid getting 60/40 solder at the price of 63/37 since it’s indistinguishable by eye.
Important Recommendations:
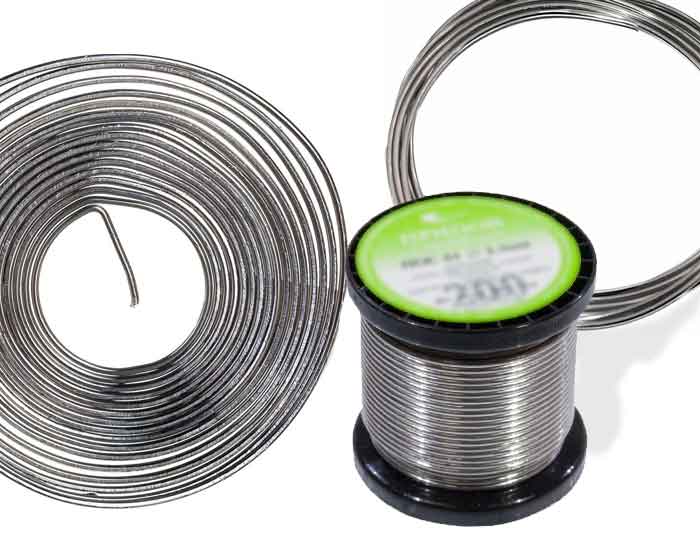
- Use solder in wire form. From my experience with different forms (wire, rod, bar), wire solder with a diameter of 1/8” (3 mm) is optimal for stained glass work.
- Only use pure solder without rosin. Rosin can stick to the glass and emit toxic fumes, requiring proper ventilation.
Choosing the Right Soldering Iron
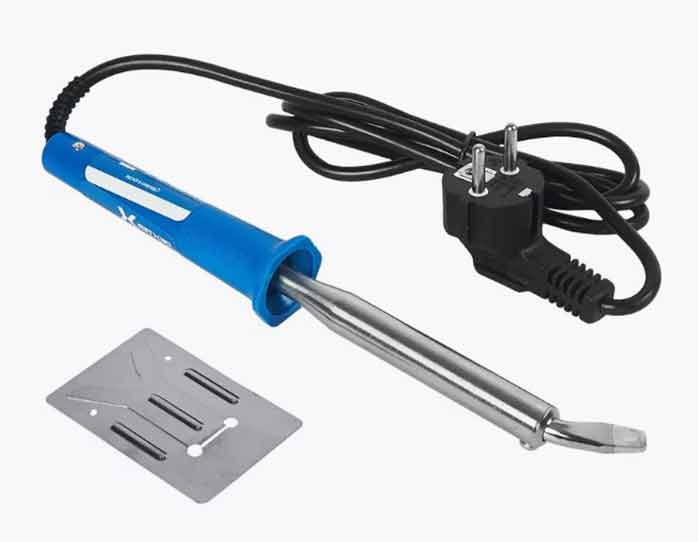
The most crucial characteristic of a soldering iron is its power. Choose a 100-watt soldering iron. While 80-watt irons can work, they operate at their limit, unlike cars which need extra engine power for comfort, especially uphill.
I used to use Weller soldering irons, which are excellent but expensive. After facing difficulties in obtaining a bent tip for it, I switched to affordable Chinese soldering irons, finding no significant difference in soldering quality.
Soldering Iron Tips:
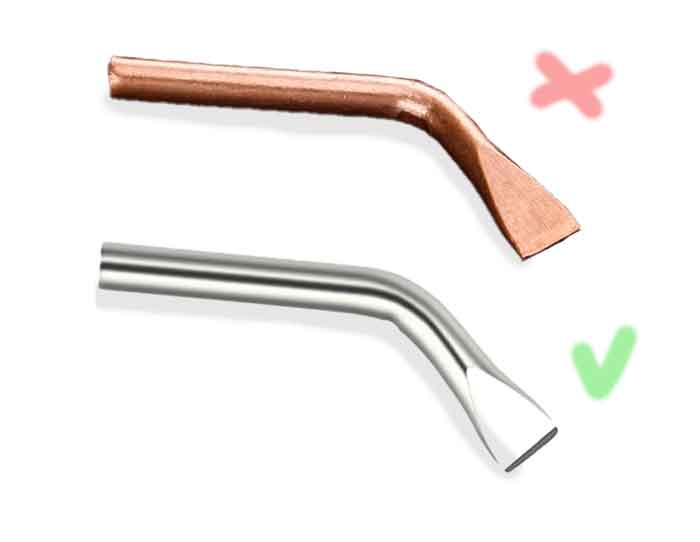
- Avoid pure copper tips as they wear out quickly. Use alloy tips instead.
- Bent tips allow for better control and visibility of the seam while soldering.
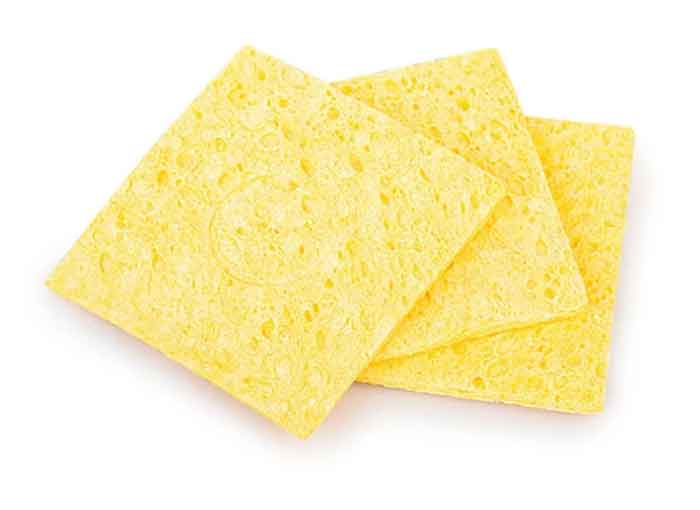
Cleaning the Soldering Tip:
- Use special cleaning sponges for soldering tips. These sponges, soaked in water, turn into soft pads that clean the tip without damaging it. Regular cleaning prevents oxidation and overheating of the tip, maintaining soldering quality.
Using Flux
Flux is a chemical used in soldering to remove oxides and other contaminants from metal surfaces. It helps improve solder wetting, ensures a reliable connection, and prevents re-oxidation during soldering. Flux comes in various types, including acid, rosin, and no-clean fluxes.
I recommend using non-acid flux, which does not emit toxic fumes and does not require ventilation. I apply it with a brush on the stained glass seams before soldering.
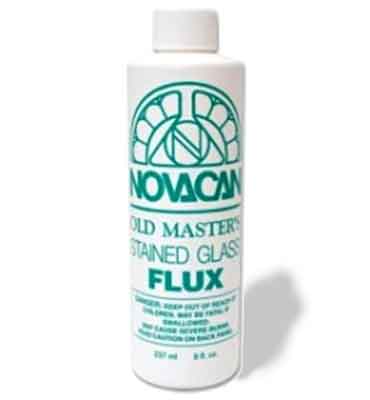
Recommended Flux:
- In Europe, I use Provetro (Germany). For the USA, I recommend Novacan “Old Master’s” (Canada). Both are excellent, and I purchase whichever is cheaper at the time.
Mastering the Soldering Skill
With the right components, you can enjoy soldering sun catchers. It becomes magical when solder flows smoothly and forms neat seams. The more you solder, the better you’ll get. Watch experienced solderers to learn:
- How they prepare the soldering area
- How they move the soldering iron and apply solder
- How they handle intersections and ends of seams
- How they fix poor seams
I’ve compiled short video clips demonstrating various soldering techniques. Watch them to learn the finer points.
Summary:
- Use “60/40 Solder” or “63/37 Solder” in 1/8” (3 mm) wire form without rosin.
- Use a 100-watt soldering iron with alloy tips.
- Use a cleaning sponge for soldering tips.
- Use non-acid flux like Provetro or Novacan.
- Improve your skills by observing other masters.
Now that you know the nuances of proper soldering, let’s move on to more complex topics. If you have questions, leave them in the comments below. This helps me improve my videos and texts for better results.
I appreciate it if you share this article with other stained glass artists by clicking the share button below. This helps the resource grow and motivates me to provide more free educational materials.
Check out our Facebook page, we publish a lot of interesting content there.
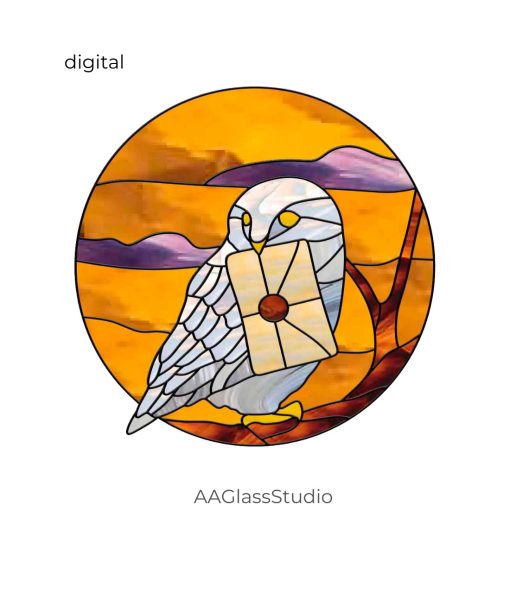
Stained Glass Owl Pattern Owl Hedwig For Fans 10″
Digital product, printable PDF & SVG, Commercial license h= 10″ (254 mm) 70 piece of glass the project needs 302 inches of foil
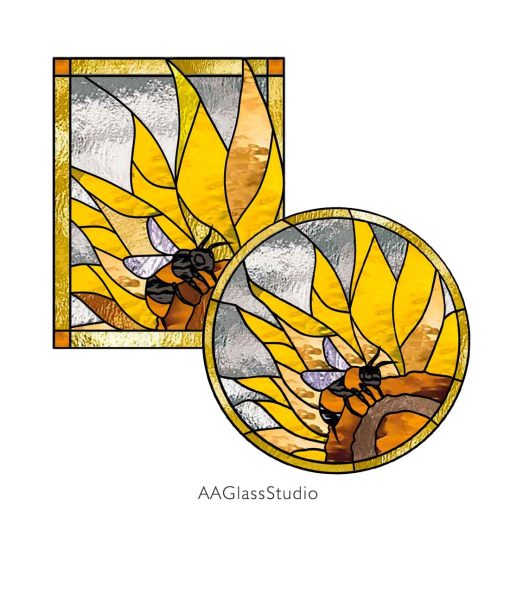
Stained Glass Bee Pattern A Bee In A Sunflower Set 2
Digital product, PDF files, Commercial license Round pattern h=10,63″ (270 mm) 56 piece of glass the project needs 240 inches of foil Rectangular pattern h=10,24″ (260 mm) 51 piece of glass the project needs 230 inches of foil