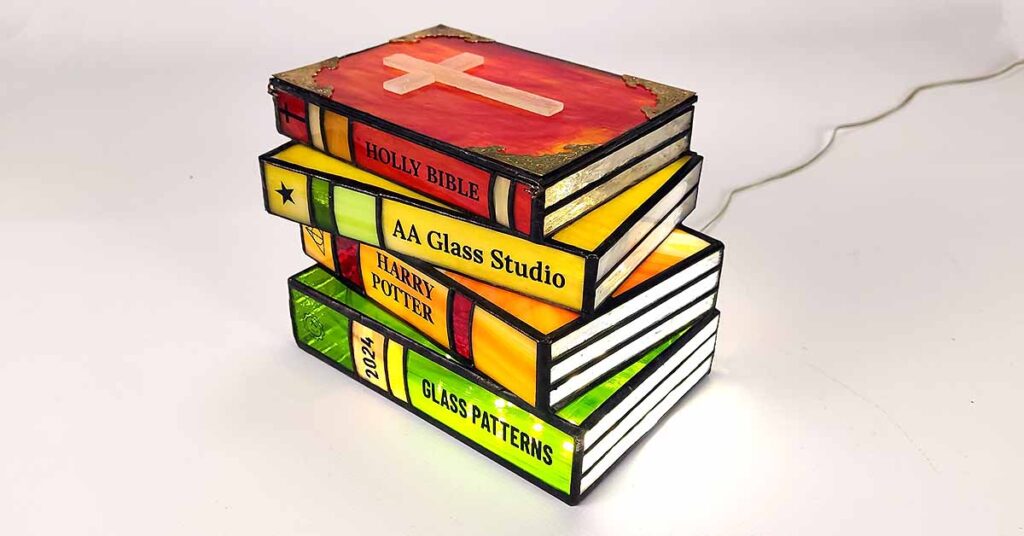
DIY Stained Glass Stacked Books Lamp: A challenge to your creativity!
Table of Contents
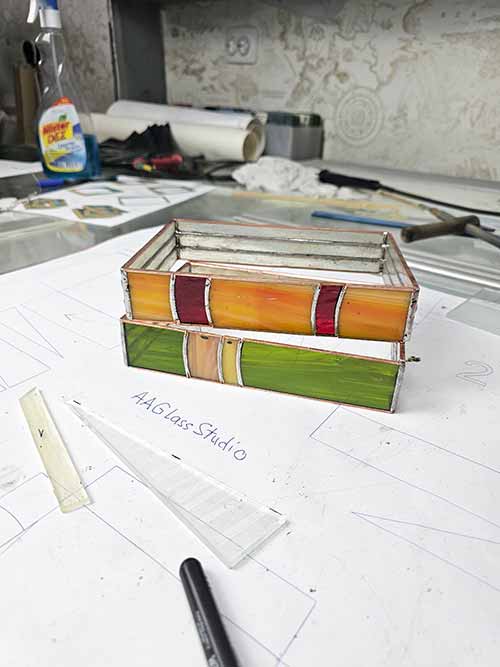
Mini Guide: DIY Stained Glass Stacked Books Lamp Using Our Pattern
Have you already decided where you want to place your 3D stained glass object? Read this article on why you need this stained glass book lamp to find inspiration and ideas for its use.
- Decide whether it will be a lamp or a 3D object. This will help you choose the right type of glass. For a lamp, you need semi-transparent glass. For an interior object, the main thing is to look impressive, so you need bright, dense opaque glass that reflects light.
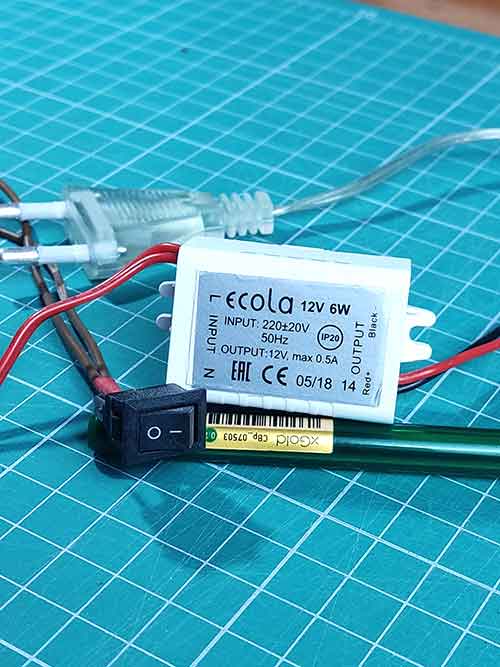
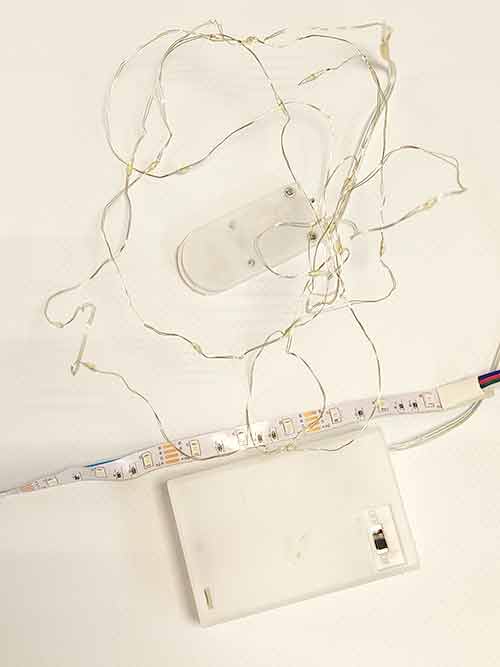
- Determine how you will light your lamp:
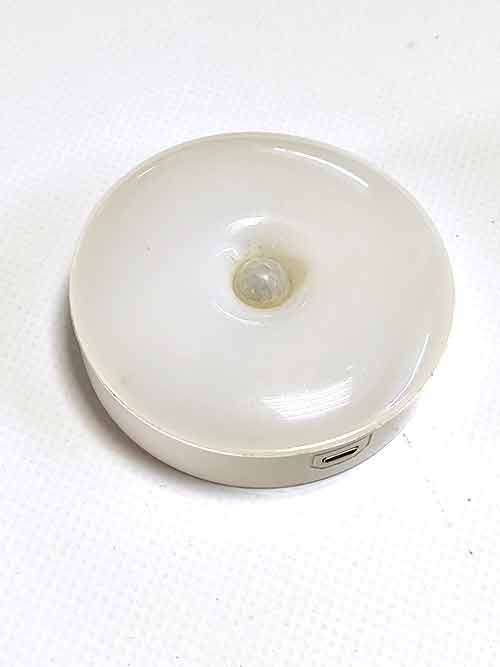
- Rechargeable lamp
- Battery-powered LED strip
- LED strip from the power supply
We designed this project with simplicity and convenience in mind, using simple and accessible materials that can be found in any country.
Start with the bottom book, counting from it. If you want to save on the number of pieces, you can use wire on the edges of the pages or the spine of the book (up to you).
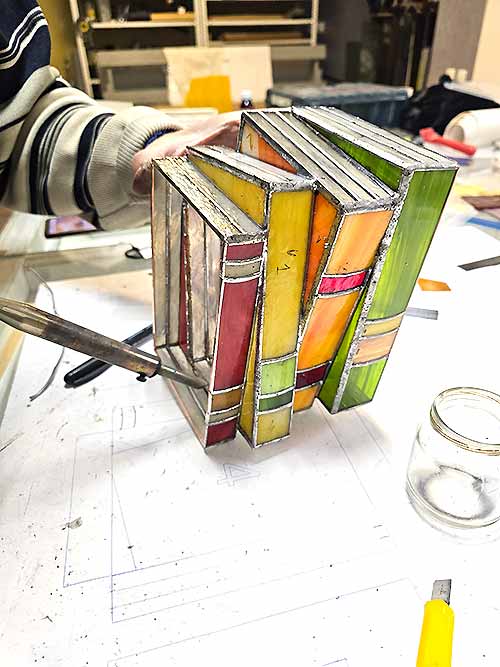
Let’s Start Stained Glass Stacked Books Lamp
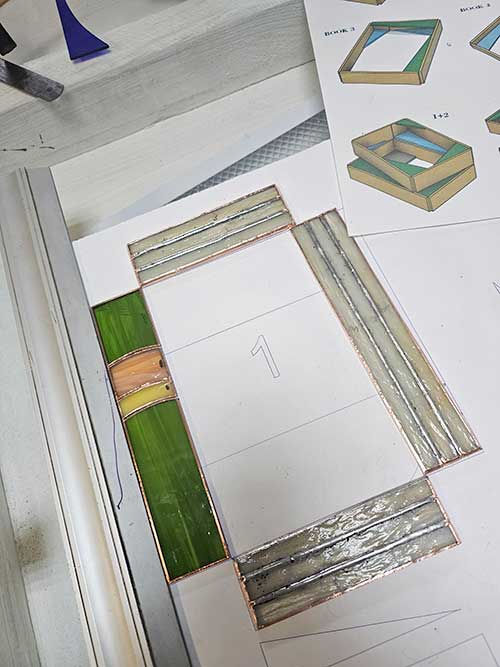
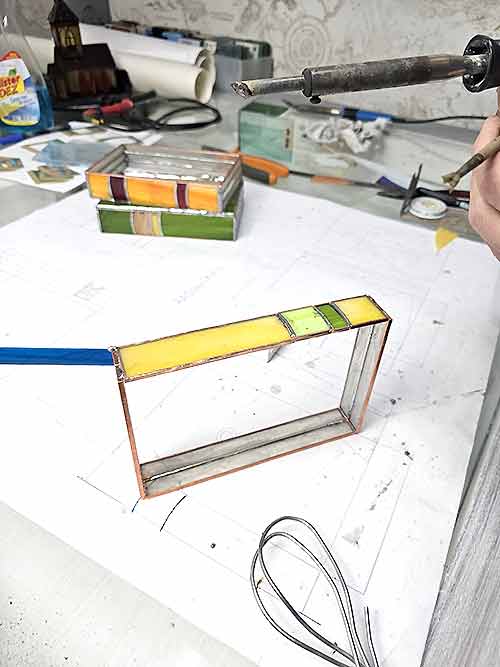
Let’s make the frame of the first book.
Cut and solder all panels of book 1
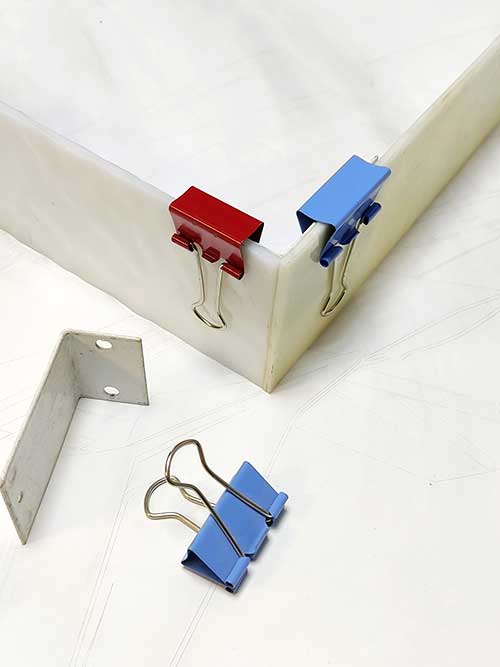
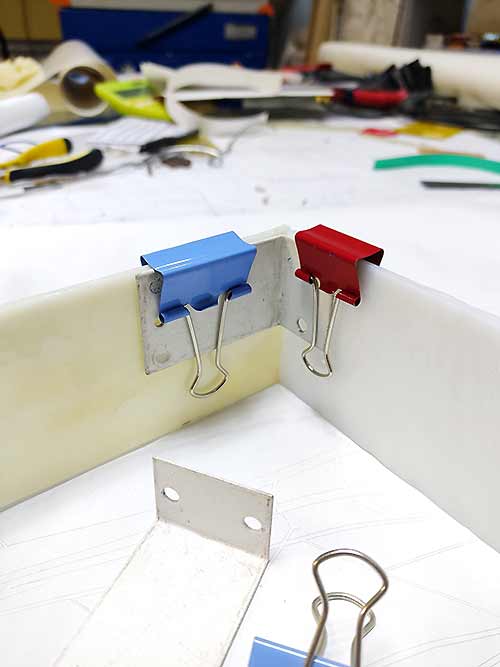
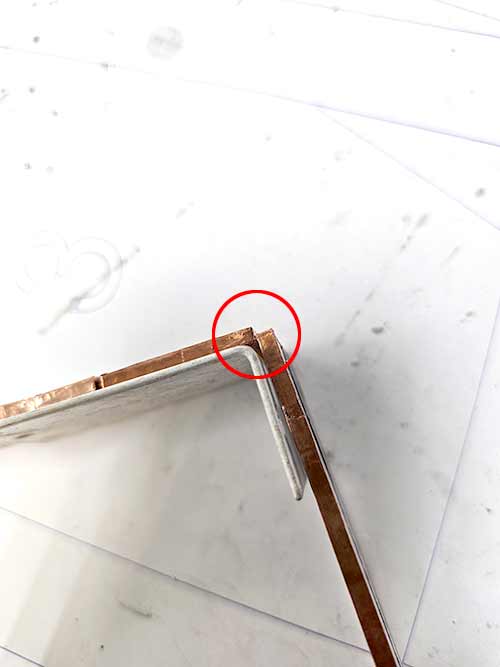
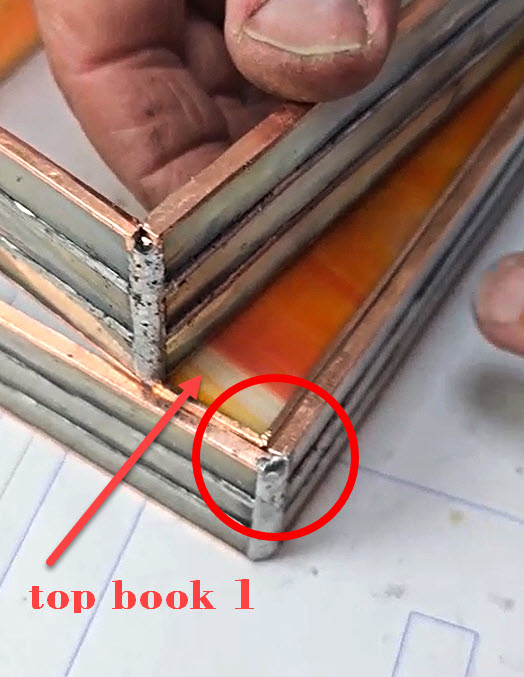
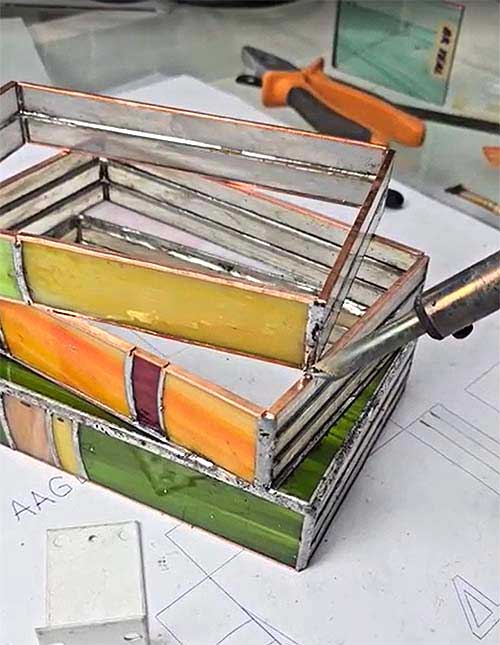
To avoid any problems assembling the box, use this trick with a metal corner and two clothespins.
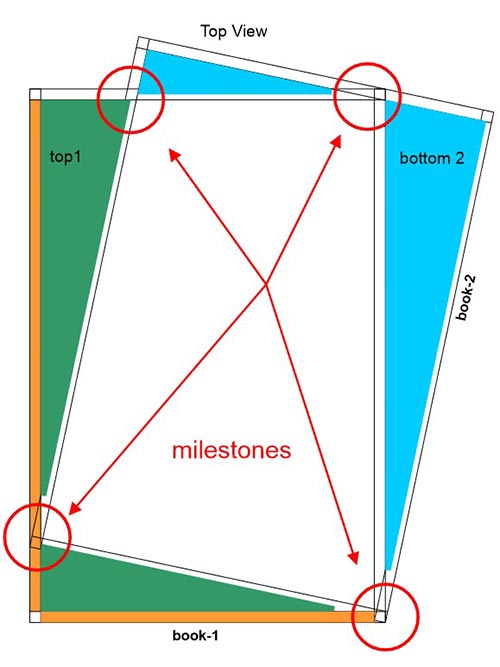
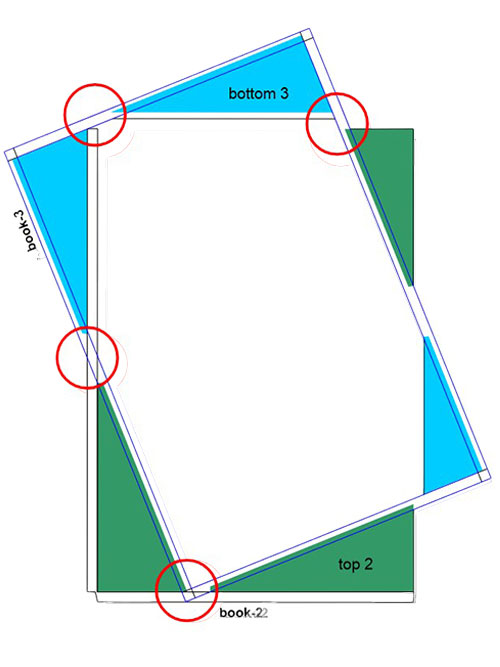
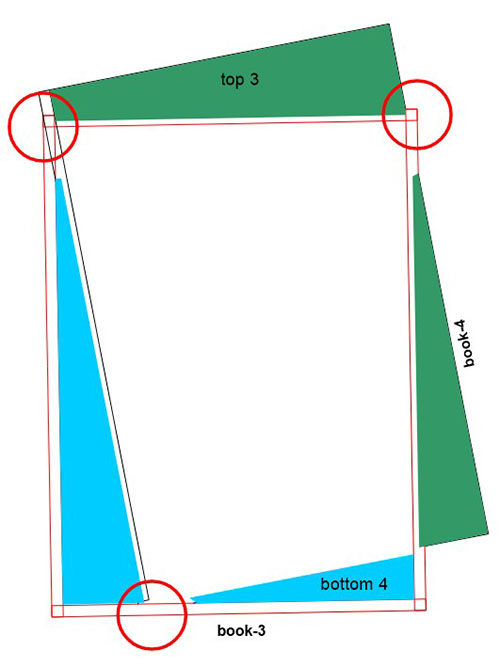
How to align the ends of the glass with each other is shown in the PDF file of the pattern.
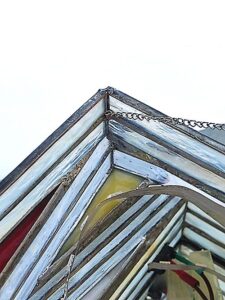
It is important to correctly align the glass panels at the corners so that in the future all dimensions correspond to the details in the pattern.
Solder the corners one at a time!
*We experimented in the process of assembling this stack of books, looking for the best ways to assemble it, so in some photos and video materials you may see that these instructions do not comply.
- If you plan to make a switch for the backlight, first buy it to calculate the necessary hole for it and the power cord!

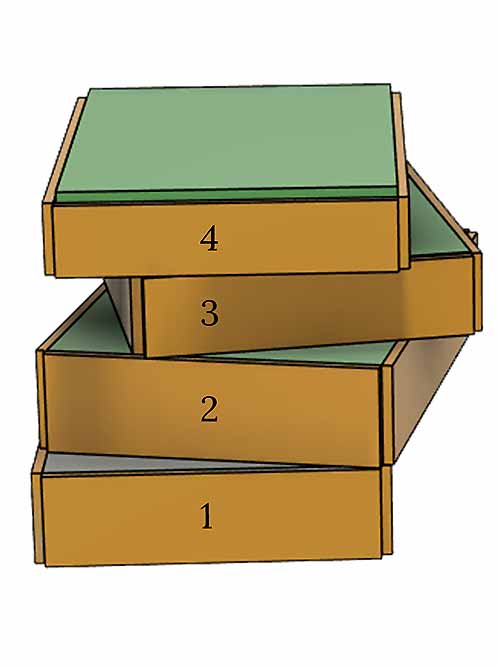
3. Solder the frame of Book 2 in the same way.
4. According to the scheme, place Book 2 on Book 1.
5. Solder the frame of Book 2 to the frame of Book 1. It will be enough to tack it at control points.
6. Now you can solder the upper and lower covers of the books. Properly place the glass pieces, tack them with a drop of solder, make sure you are satisfied with the result, and then solder all the seams from the inside.
7. Solder the frame of Book 3.
8. Repeat steps 4-6.
9. Solder the frame of Book 4.
10. Repeat steps 4-6.

11. Now you can wash the product and, if desired, cover it with patina from the inside.
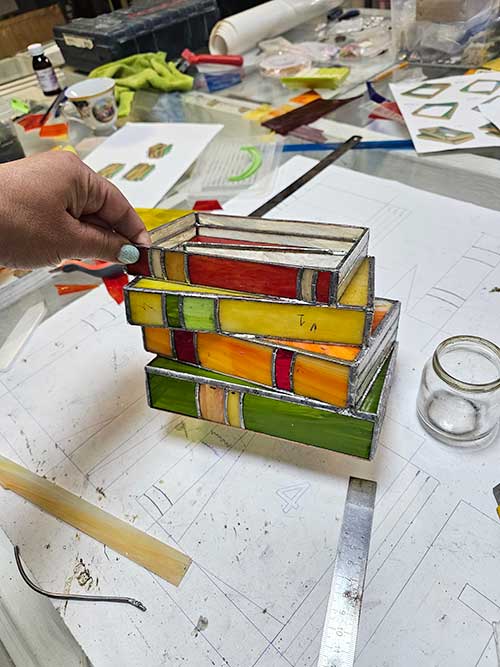
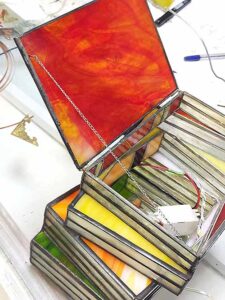
12. Decide for yourself what you ultimately want to achieve. Do you need an opening top cover, do you need a bottom for the stack of books? For a beginner, this is additional time on the way to the finished product. If you decide to do as we did—a bottom + opening book cover—then go ahead.
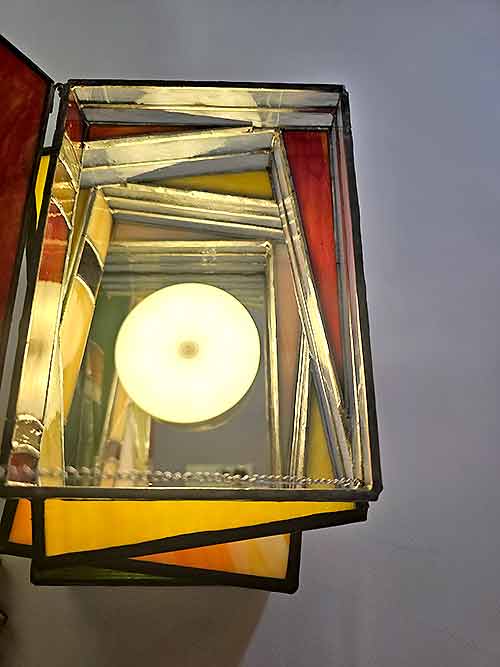
13. Carefully solder the bottom outside; this will be enough. (After all, inside everything is washed and covered with patina.) We used a mirror for the bottom to enhance the effect of LED lighting.
14. Make the hinges.
On the pattern file page, everything is clearly drawn and shown in full size. (We use re-strip for foil, not for lead! It is softer and easier to work with.)
All posts about the re-strip on our Facebook
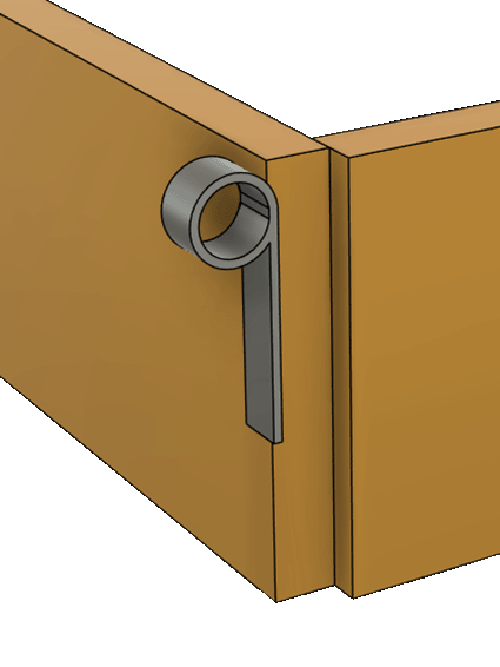
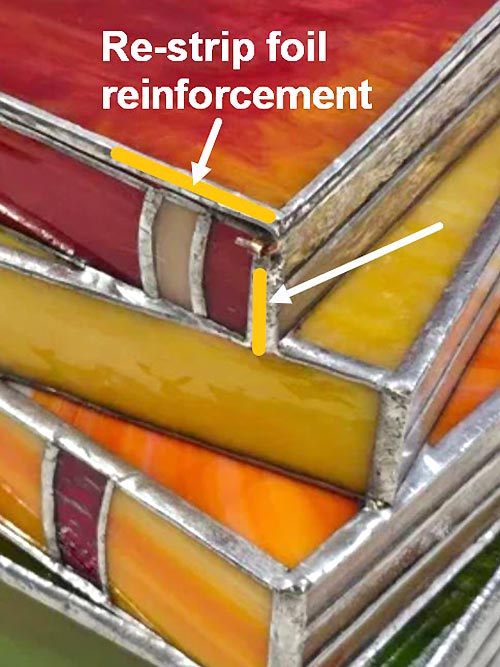
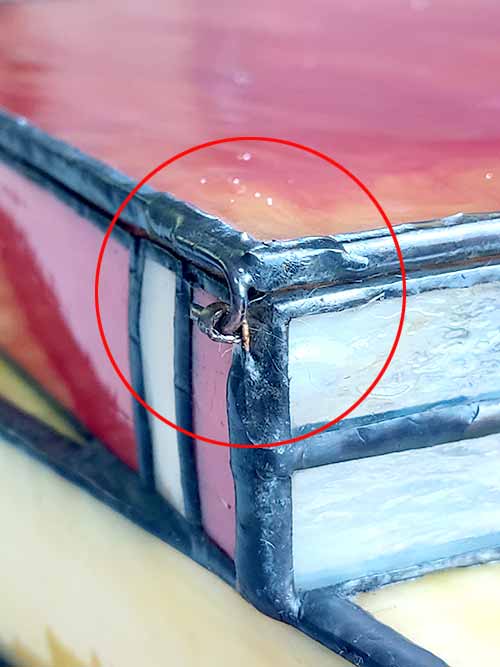
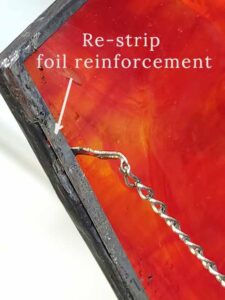
- Cut out the glass cover of the fourth book, foil it, and reinforce the foil with re-strip at the points where the chain and hinges are attached.If this is not done, the foil at the attachment points will tear off.
- Solder the chain to it;
- Solder the wire loop;
- Put hinges made of re-strip on the wire;
- Install the glass cover in place and solder the hinges to the cover of Book 4. (video from YouTube)
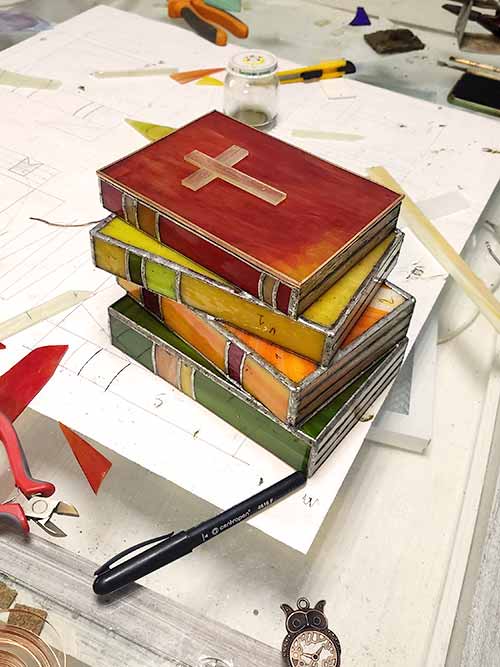
15. Wash the finished product, apply patina.
16. Decorate to your taste.
Apply inscriptions to the book spines, decorate the cover.


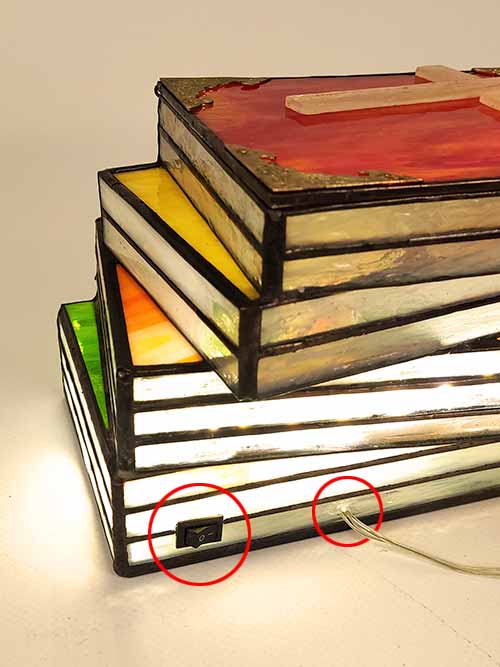
17. Install the lighting.

18. Photograph the result and share it with the community.

Ideas For Using A Book Lamp
In this article, I look at why you, as a craftsman, would want to make this stained glass book lamp project, where it could be used in the interior, or to whom it could be given as a gift.
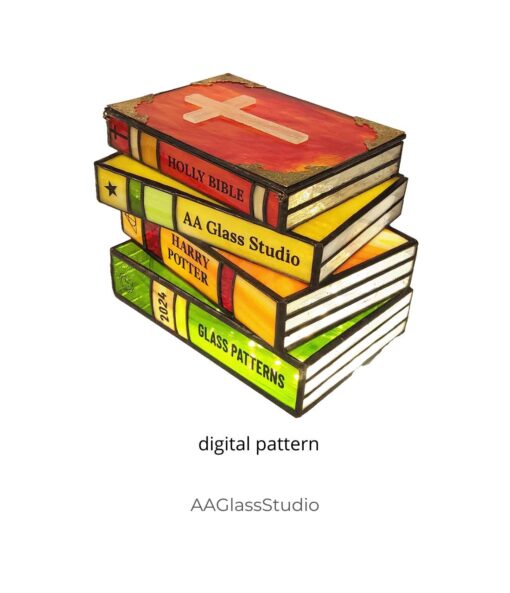
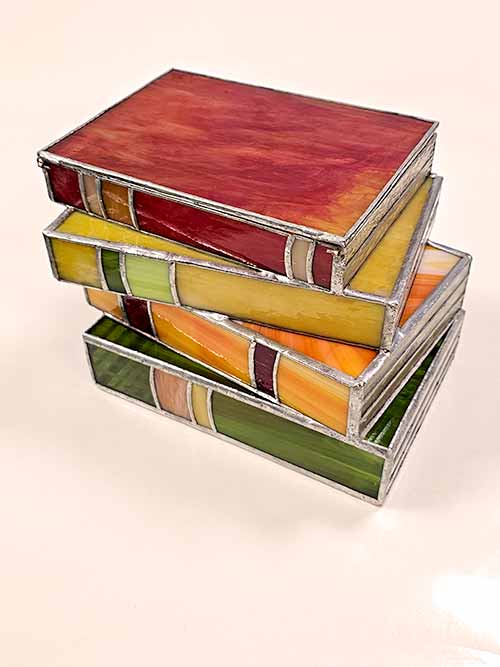
Enchanting 3D Stained Glass Book Lamp Pattern Night Light Bliss
Digital product, PDF & SVG files, Commercial license 72 piece of glass h=4.88″ (124 mm) w= 5.71″ (145 mm) l= 7.48″ (190 mm) Gallery of your works ↓
Explore our other 3D stained glass patterns and read the article “Explore the Best 3D Stained Glass Patterns for Stunning DIY Holiday Decor” to get more creative ideas for your projects.